
If you've been struggling with uneven temperatures, high energy bills, or a home that simply wasn't built with traditional ductwork, a ductless mini-split system may be exactly the solution you're looking for. These sleek, efficient systems have transformed home comfort — and with the right guidance, installing and maintaining one is entirely within reach.
This guide walks you through everything: what ductless mini-splits are, why they outperform conventional systems in many situations, how to install one, and how to keep it running at peak performance for years to come.
Understanding Ductless Mini-Split Systems
A ductless mini-split is a two-part air conditioning and heating system — an outdoor compressor unit and one or more indoor air-handling units — connected by a small conduit that carries refrigerant lines, power cables, and a condensate drain. Because there's no ductwork required, these systems deliver conditioned air directly to the rooms where it's needed.
Unlike central HVAC systems that push air through a network of ducts (losing up to 30% of energy along the way), mini-splits deliver conditioned air right where it's needed. They support both heating and cooling functions in a single compact system, making them year-round climate solutions.
Did you know? Ductless mini-splits use inverter-driven compressors that constantly adjust their output to match room conditions — unlike traditional systems that cycle on and off. This means less energy waste, quieter operation, and more consistent temperatures throughout the day.
Benefits of Ductless Mini-Splits
The advantages of ductless systems go far beyond simply eliminating ductwork. Here's why homeowners and contractors alike are choosing mini-splits over conventional alternatives:
Inverter technology reduces energy consumption by up to 40% compared to traditional systems.
Control each room independently — no more cooling empty spaces or arguing over the thermostat.
Indoor units operate as low as 19 dB — quieter than a library whisper.
No ductwork needed. A 3-inch hole in the wall is all that's required for the conduit.
Heat pump models work efficiently even when outdoor temperatures drop below freezing.
Multi-stage filtration removes dust, allergens, and bacteria from the air you breathe.
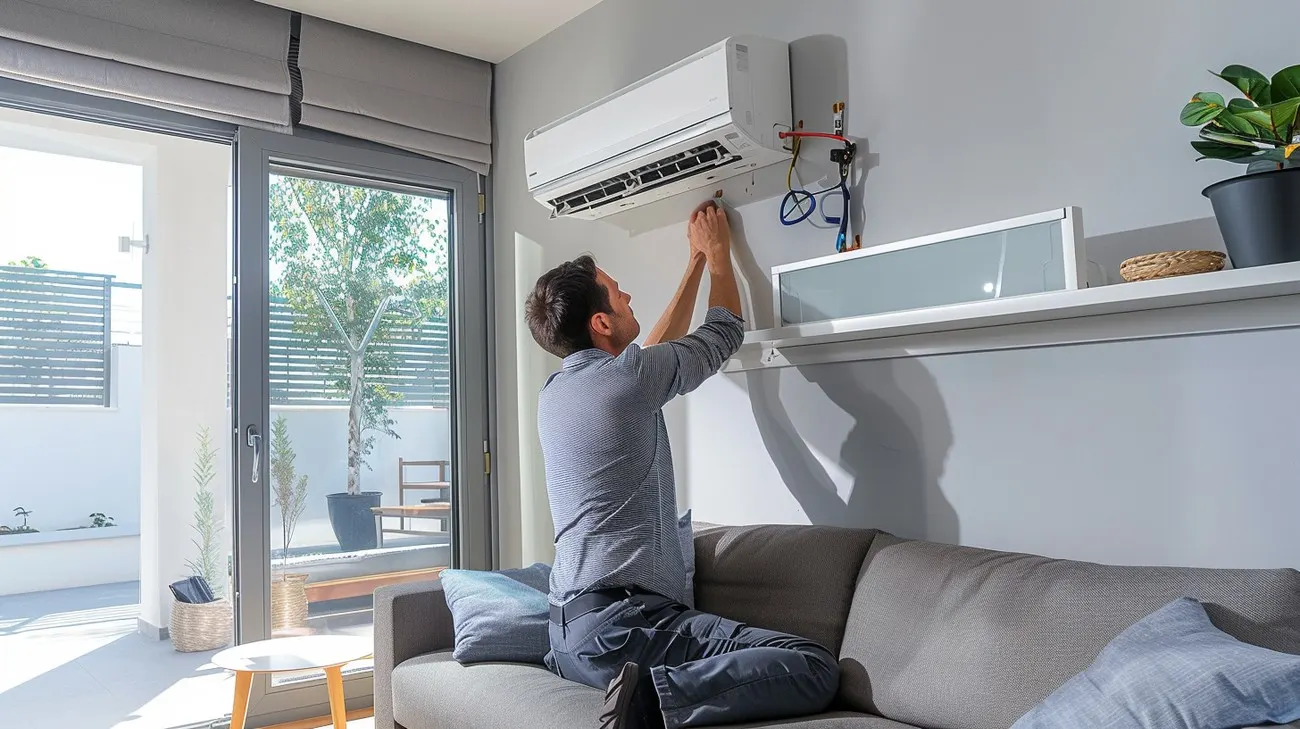
How to Install a Ductless Mini-Split
While professional installation is recommended for the electrical work and refrigerant handling, understanding the process helps you plan properly, communicate with installers, and even tackle the non-technical steps yourself. Here's an overview of the full installation process:
Planning Your Installation
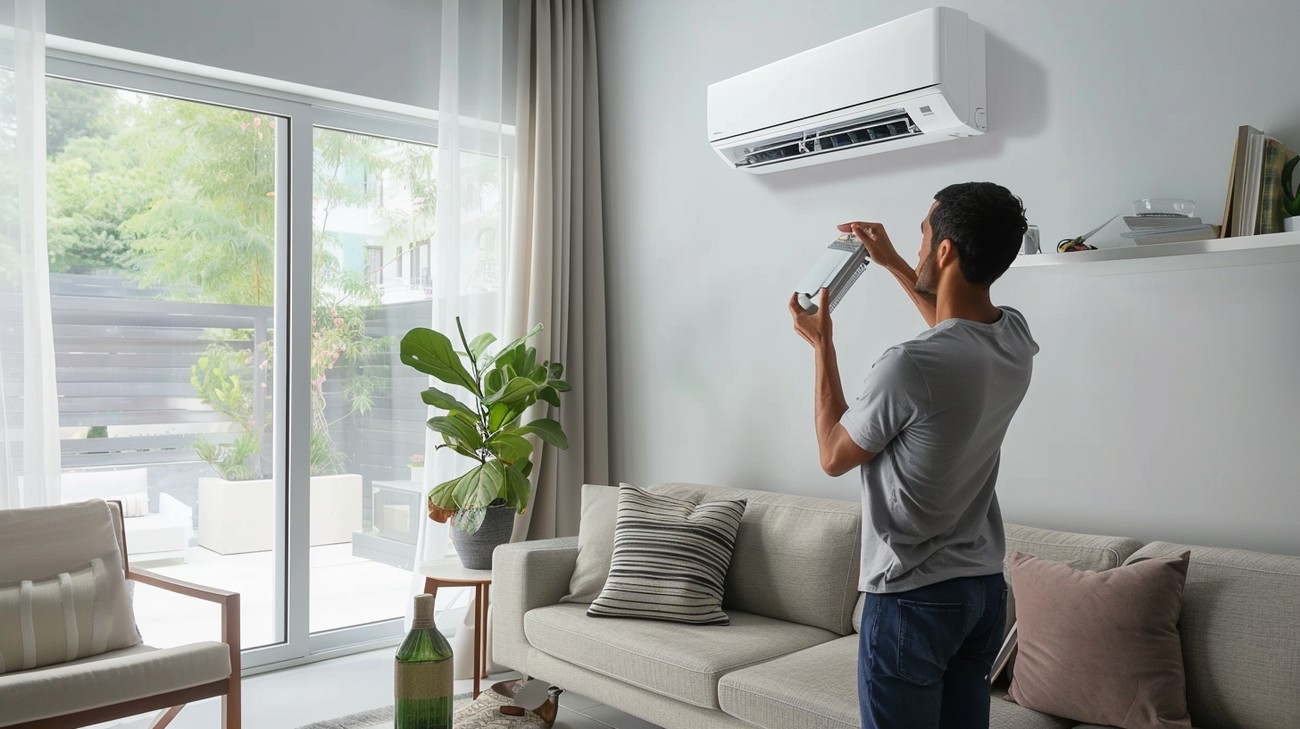
Before picking up a drill, take time to plan. Choose the right unit size using a BTU calculator based on your room's square footage, ceiling height, insulation quality, and sun exposure. Select the best indoor unit location — typically high on an interior wall, away from direct sunlight and heat sources, with clear airflow in all directions.
Mount the indoor unit on a sturdy interior wall, ideally centered in the room, at least 7 feet from the floor with 6 inches of clearance on all sides. The outdoor unit needs a solid, level surface with good airflow.
Secure the mounting plate level to wall studs using the hardware provided. This plate carries the full weight of the indoor unit and must be anchored correctly to studs or masonry.
Use a 2.5–3 inch core drill bit to create a slightly downward-angled hole through the wall. This angle allows condensate to drain naturally to the outside.
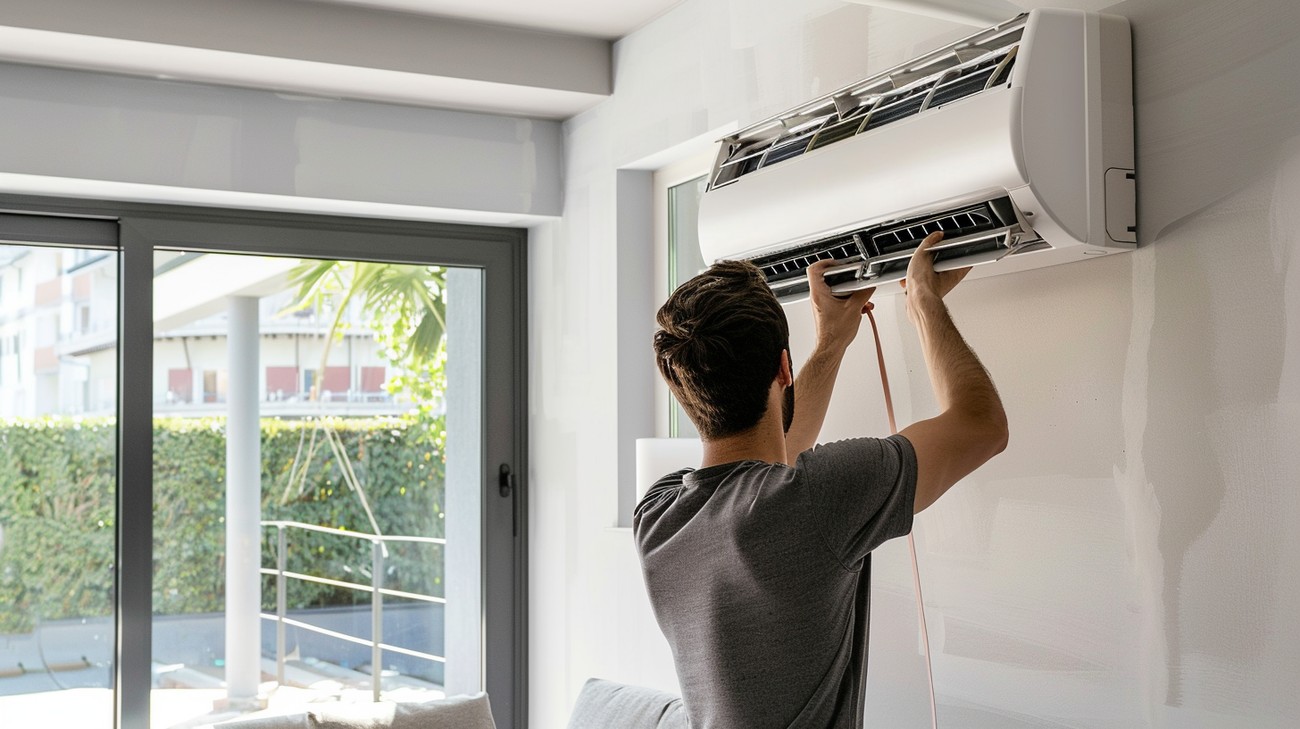
Feed the refrigerant lines, power cable, communication wire, and condensate drain through the conduit hole. Wrap them together neatly using line set cover or foam insulation wrap.
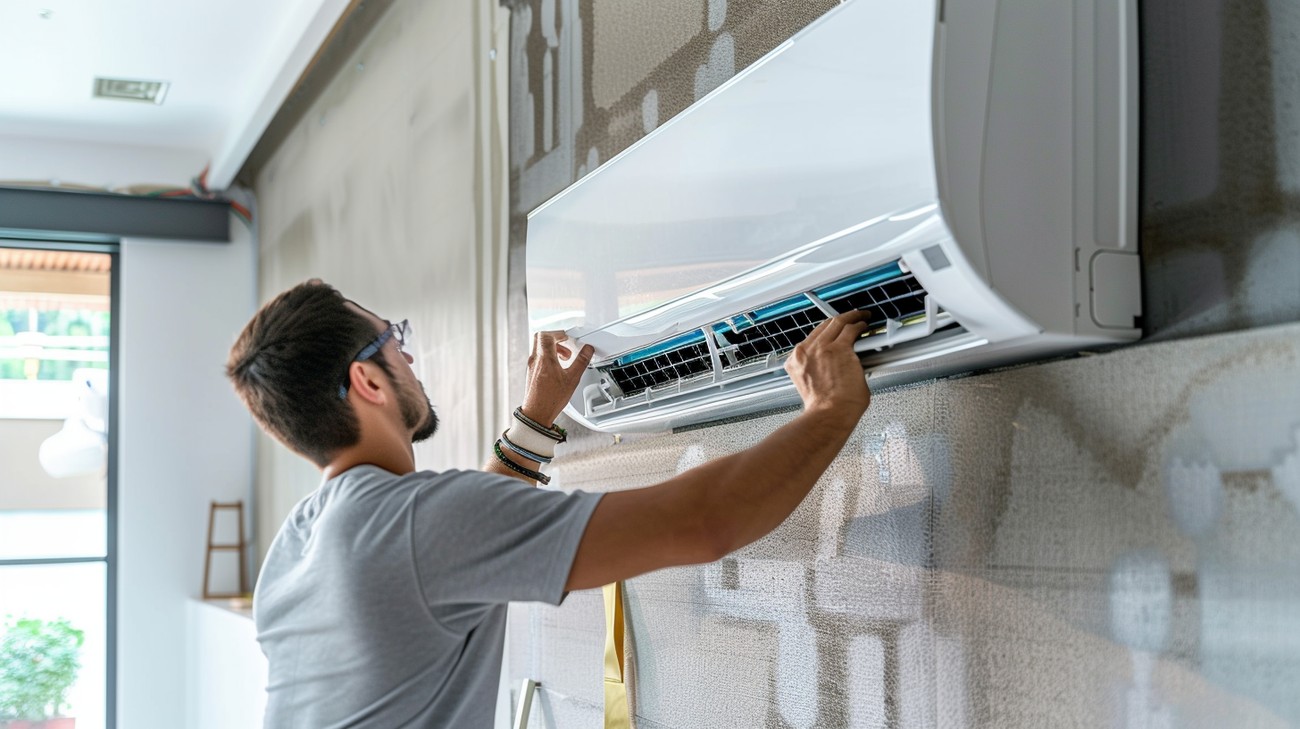
Attach refrigerant lines, communication wires, and drain hose to the indoor unit per manufacturer instructions. Hang the unit on the mounting bracket and secure it in place.
Place the outdoor unit on a concrete pad or wall brackets, connecting the refrigerant lines and electrical supply. Ensure adequate clearance on all sides for airflow.
A certified HVAC technician must vacuum the refrigerant lines, charge the system, and verify all electrical connections. Power up and test all operating modes before signing off.
In most regions, handling refrigerant requires EPA Section 608 certification. Additionally, electrical connections must comply with local building codes. Always check permit requirements before starting your installation.
Setting Up Your System
Initial Settings & Programming
Once your system is installed and powered on, take time to configure your settings properly. Most modern mini-split units come with a multi-function remote that allows you to set operating modes (cooling, heating, dehumidify, fan-only, auto), fan speeds, temperature ranges, and timer functions.
Set your preferred temperature range — most systems operate between 60°F and 86°F in cooling mode, and down to 5°F outside in heating mode for cold-climate models. Program your weekly schedule so the system adjusts automatically based on your routine, reducing energy use when you're asleep or away.
Pairing the Remote & Wi-Fi Module
Many current mini-split models include built-in Wi-Fi or a compatible Wi-Fi adapter that connects to a smartphone app. Download the manufacturer's app, follow the pairing instructions in your manual, and connect to your home network. Once connected, you can control temperature, mode, and scheduling from anywhere — a genuine convenience for managing comfort on your schedule.
Maintenance Tips for Longevity
A well-maintained mini-split system can last 15–20 years and maintain near-factory efficiency for most of that time. Regular maintenance is straightforward and can largely be performed by homeowners — no specialist required for routine care.
- Clean the air filters every 2–4 weeks — Remove, rinse with lukewarm water, air-dry completely, and reinstall. Clogged filters are the #1 cause of reduced performance.
- Inspect and clean the indoor coil annually — Use a no-rinse coil cleaner spray to remove dust and mold from the evaporator coil.
- Clear the outdoor unit seasonally — Remove leaves, dirt, and debris from around the condenser. Keep at least 18 inches of clearance on all sides.
- Check the condensate drain line — Pour a cup of diluted bleach through the drain line once a year to prevent algae and mold buildup.
- Inspect refrigerant lines for damage — Check insulation on the lineset annually and replace any cracked or deteriorated foam wrap.
- Schedule professional service every 2–3 years — Have a certified technician check refrigerant levels, electrical connections, and overall system health.
-
Keep the remote's batteries fresh — Replace them annually to ensure reliable communication with the unit.
Ductless Mini-Split Installation FAQ
Cost Breakdown
Understanding the full cost of a ductless mini-split system helps you budget accurately and avoid surprises. Here's a realistic breakdown of typical expenses:
| Cost Component | Typical Range | Notes |
|---|---|---|
| Single-zone unit (9,000–12,000 BTU) | $600 – $1,200 | Entry-level to mid-range brands |
| Single-zone unit (18,000–24,000 BTU) | $1,000 – $2,500 | Larger rooms, premium models |
| Professional installation (single zone) | $700 – $2,000 | Labor, permits, line set |
| Multi-zone system (2–5 zones) | $2,500 – $8,000+ | Equipment + installation |
| Electrical panel upgrade (if needed) | $500 – $2,000 | Depends on existing panel capacity |
| Annual maintenance | $100 – $300 | Professional service every 2–3 years |
Keep in mind that many utility companies offer rebates for high-efficiency HVAC installations, and federal tax credits may apply to qualifying heat pump systems under current energy efficiency incentives. Check with your utility provider and a tax professional for current program details.
Step-by-Step: What to Expect on Installation Day
Before Installers Arrive
- Clear the area beneath your chosen indoor unit location
- Ensure outdoor unit location is accessible and clear
- Confirm your electrical panel has capacity for the new circuit
- Have your owner's manual and any permit paperwork ready
During Installation
- Ask the installer to walk you through the unit's controls
- Confirm the condensate drain is properly routed and tested
- Watch the initial startup and verify all modes work correctly
- Request documentation of refrigerant charge and system pressures
After Installation: First Week
In the first week, run the system in each operating mode to verify performance. Listen for any unusual noises, check that the condensate drain is working (you'll notice water draining from the outdoor unit in cooling mode), and confirm the remote and any app controls are functioning correctly. Register your product warranty with the manufacturer immediately after installation.
Your Thoughts
Have you recently installed a ductless mini-split — or are you in the planning stages? Whether you're replacing an aging window AC, adding comfort to a garage conversion, or upgrading an entire home, we'd love to hear your experience. The mini-split market continues to evolve rapidly, with new cold-climate models, ultra-quiet fan designs, and smart home integrations arriving every year.
For homeowners looking for a reliable, efficient, and professionally-designed solution, the Senville AURA series represents some of the best available in the concealed duct category — offering the performance and flexibility to transform any living space.
Ready to Upgrade Your Home Comfort?
The Senville AURA 24,000 BTU Concealed Duct Mini-Split delivers powerful, whisper-quiet heating and cooling — built for demanding climates and whole-home comfort. Backed by advanced inverter technology and a comprehensive warranty.
Senville AURA 24K BTU Mini-Split