
Owning a built-in grill is a long-term investment in your backyard lifestyle. As seasons shift — from the heat of summer cookouts to the frost of winter — your grill is exposed to grease, weather, and continuous heat cycles that gradually wear it down. The difference between a grill that lasts a decade and one that deteriorates in three years often comes down to one thing: consistent, seasonal maintenance. This guide walks you through everything you need to keep your built-in grill clean, functional, and ready for every cookout.
Autumn Maintenance: Preparing for the Off-Season
As grilling season winds down, fall is the perfect time to give your built-in grill a thorough inspection and deep clean before cooler months set in. Neglecting this step can lead to rust, pest intrusion, and component damage over winter — problems that are far more costly to fix than prevent.
- Burn off residual grease on high heat for 15 minutes, then let the grill cool fully before scrubbing
- Remove and soak grates in hot, soapy water — scrub with a stiff grill brush to remove baked-on residue
- Clean the burner tubes by brushing along the ports (never across) to clear blockages
- Wipe down the interior walls, drip tray, and grease management system thoroughly
- Inspect the ignition system and replace batteries or igniter rods as needed
- Check gas connections and hose lines for cracks, wear, or signs of corrosion
- Cover with a weatherproof, fitted grill cover to protect from moisture and debris
Start the Season Right: Spring Deep Clean
Before firing up the grill for your first cookout of the year, a spring tune-up ensures everything is safe, clean, and ready to perform. A few hours of preparation now saves you from headaches — and hazards — down the road.
Look for any signs of rust, warping, cracked grates, or insect nesting in burner tubes — common after a long winter dormancy.
Scrub all cooking surfaces aggressively, flush out the firebox, and degrease the interior walls with a food-safe grill cleaner.
Apply a soap-and-water solution to all connections — bubbling indicates a gas leak. Never skip this safety step at the season's start.
Lightly coat clean, dry grates with high-smoke-point oil and heat to 400°F for 30 minutes to re-establish a non-stick, protective surface.
Test each burner individually. Uneven flames or delayed ignition often signal clogged ports or a failing igniter that needs attention.
Fuel-Specific Care for Consistent Cooking
Whether your built-in runs on natural gas, propane, or charcoal, each fuel type demands its own maintenance approach. Matching your care routine to your fuel ensures cleaner burns, more consistent heat, and longer-lasting components.
Gas Grills
- Inspect and clean venturi tubes seasonally for spider webs or debris
- Check regulator pressure and replace if inconsistent flame height is noticed
- Flush the grease tray regularly to prevent dangerous grease fires
- Use a burner brush quarterly to clear port blockages
Charcoal Grills
- Empty ash after every session to prevent moisture retention and rust
- Clean charcoal grates and vents to maintain proper airflow control
- Inspect the lower chamber for oxidation and treat with heat-resistant paint
- Store charcoal in a sealed, dry container away from the grill
Quick Mid-Season Touch-Ups to Keep Performance Steady
You don't need a full deep clean between every cookout — but small, consistent habits make a significant difference in how well your grill performs and how long it lasts. Adopt these mid-season practices as part of your grilling routine:
- Preheat the grill on high for 10–15 minutes before cooking to burn off residue from previous sessions
- Brush grates while hot using a quality stainless steel grill brush — always before and after cooking
- Empty and clean the grease collection tray every 3–4 uses to prevent overflow and flare-ups
- Wipe the exterior surfaces with a damp microfiber cloth after each use to prevent grease accumulation
- Check burner caps for displacement after windy cookouts and reseat them properly
Conserving Water When Cleaning Your Grill
Deep cleaning a grill uses more water than most people realize. Here are a few habits that cut waste without cutting corners:
- Soak grates and drip trays in a single bucket of hot, soapy water rather than rinsing continuously
- Use a spray bottle for targeted rinsing of hard-to-reach areas
- Wipe down surfaces with damp microfiber cloths instead of hosing down the entire unit
- Collect and reuse rinse water for garden irrigation where safe to do so
Tools for Safe and Effective Cleaning
The right tools make your maintenance sessions faster, more effective, and safer. Avoid using the wrong equipment — wire brush bristles can break off and contaminate food, and harsh chemicals can degrade metal components over time.
Choose a coil-style or wooden-bristle brush. Stainless scrapers are ideal for cast iron grates.
Use a food-safe, biodegradable formula. Apply generously, let sit for 5 minutes, then wipe clean.
Great for exterior stainless steel surfaces — lint-free and non-abrasive to prevent scratching.
A narrow, flexible brush designed specifically to clean inside burner tubes without damaging ports.
Outdoor Storage Tips for Long-Term Protection
Even a built-in grill benefits from thoughtful protection during extended downtime. UV rays, humidity, wind, and freezing temperatures can degrade components quickly without the right precautions in place.
- Always use a high-quality, UV-resistant cover sized to your grill's exact dimensions
- Disconnect and store propane tanks safely in a cool, ventilated area away from direct sunlight
- Remove grates and store them indoors wrapped in cloth during long winter shutdowns
- Apply a thin coat of food-grade oil to cast iron components before storing to prevent rust
- Ensure the cover is secured tightly — wind can turn a loose cover into a liability
Pro Tips for Extensive Seasons
If you grill year-round or host frequently, your maintenance needs to scale with usage. High-frequency grilling demands a more attentive approach to keep performance consistent and components from wearing prematurely.
- Schedule a professional inspection once per year — technicians can catch gas line issues and worn regulators that are easy to overlook
- Replace burner tubes every 3–5 years even if they appear functional — internal corrosion isn't always visible
- Upgrade to stainless steel grates if you haven't already — they hold up better under repeated high-heat cycles
- Keep a grill maintenance log noting each cleaning, inspection, and part replacement for warranty and troubleshooting purposes
Your Seasonal Grill Care Guarantee
Commit to a seasonal maintenance schedule and your built-in grill will reward you with years of reliable, high-performance cooking. The simple truth is that the grills that last the longest aren't the most expensive — they're the best maintained. By following these guidelines each spring and fall, and adopting light-touch habits in between, you're not just protecting a product — you're investing in every backyard moment it will create.
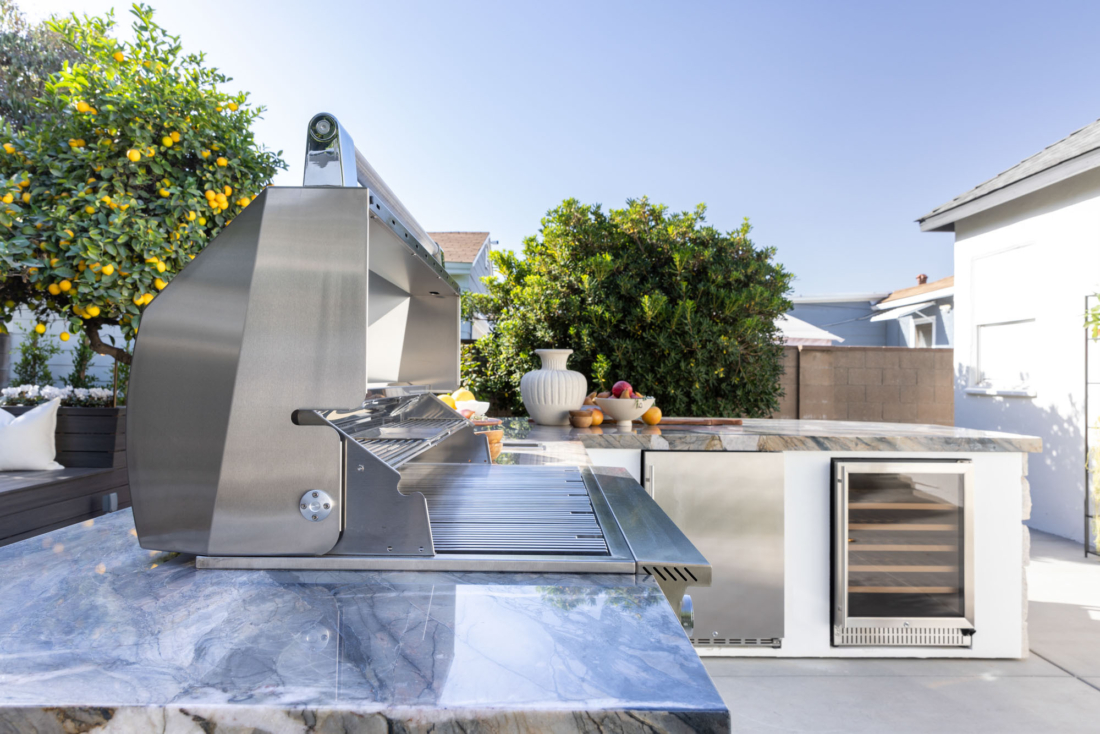
Cal Flame P4 Built-In 4-Burner Gas Grill
A professional-grade, built-in grill engineered for serious outdoor kitchens. Four powerful stainless steel burners, heavy-duty cast iron grates, and a design built to stand the test of time — and seasons.
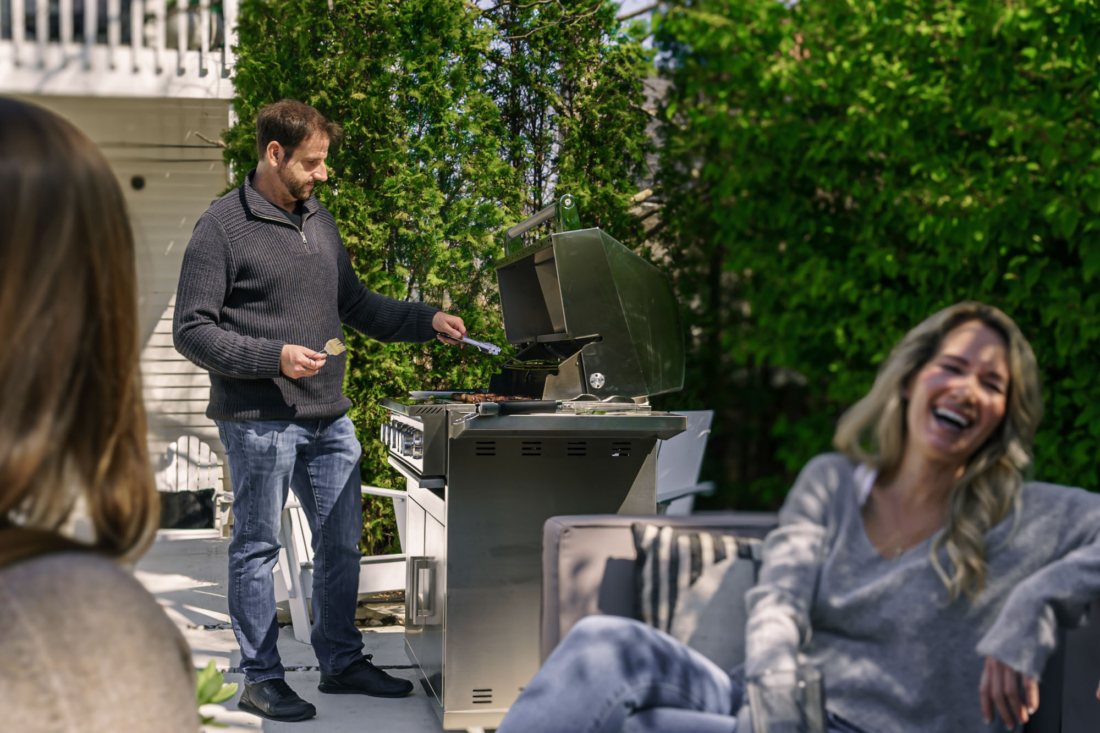
Cal Flame P4 4-BurnerTrue Flame Built for Every Season
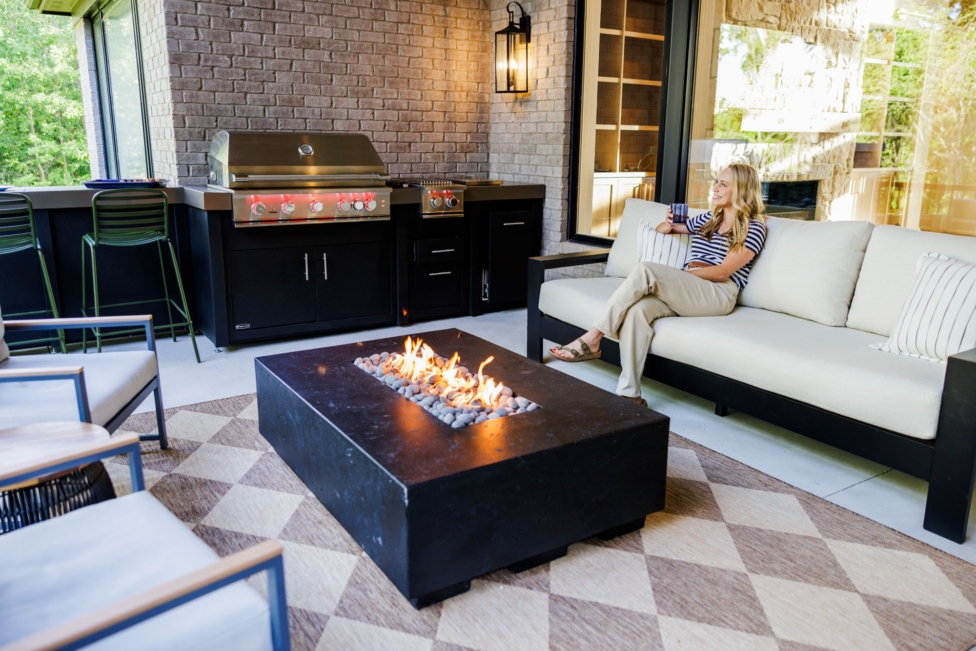
A great built-in grill is more than a cooking appliance — it's the heart of your outdoor living space. Whether you're hosting a summer cookout, a crisp autumn gathering, or a midwinter holiday meal, a well-maintained grill shows up every single time. The routines in this guide aren't complicated — they're consistent. And consistency is what transforms a good outdoor kitchen into a great one that serves your family and guests for years to come.