
If you've ever stepped out of the shower and reached for a cold, damp towel, you already understand the appeal of a heated towel rail. Beyond the everyday luxury of warm, dry towels, these fixtures serve a genuinely practical purpose — they help manage moisture in enclosed spaces, reduce musty odors, and keep your bathroom feeling fresh without cranking up the central heating.
For those with compact bathrooms, caravans, RVs, or small living spaces, a low-wattage electric towel rail is an especially smart choice. Modern units draw as little as 60 watts, making them extremely energy-efficient. You can leave one running without worrying about sky-high utility bills or tripping a circuit breaker — a real advantage when you're working with a limited electrical supply.
In this guide, we'll walk you through the complete process of selecting, mounting, wiring, and testing an electric heated towel rail. Whether you're fitting one in a traditional home bathroom or a compact mobile living space, the principles are the same. Let's get started.
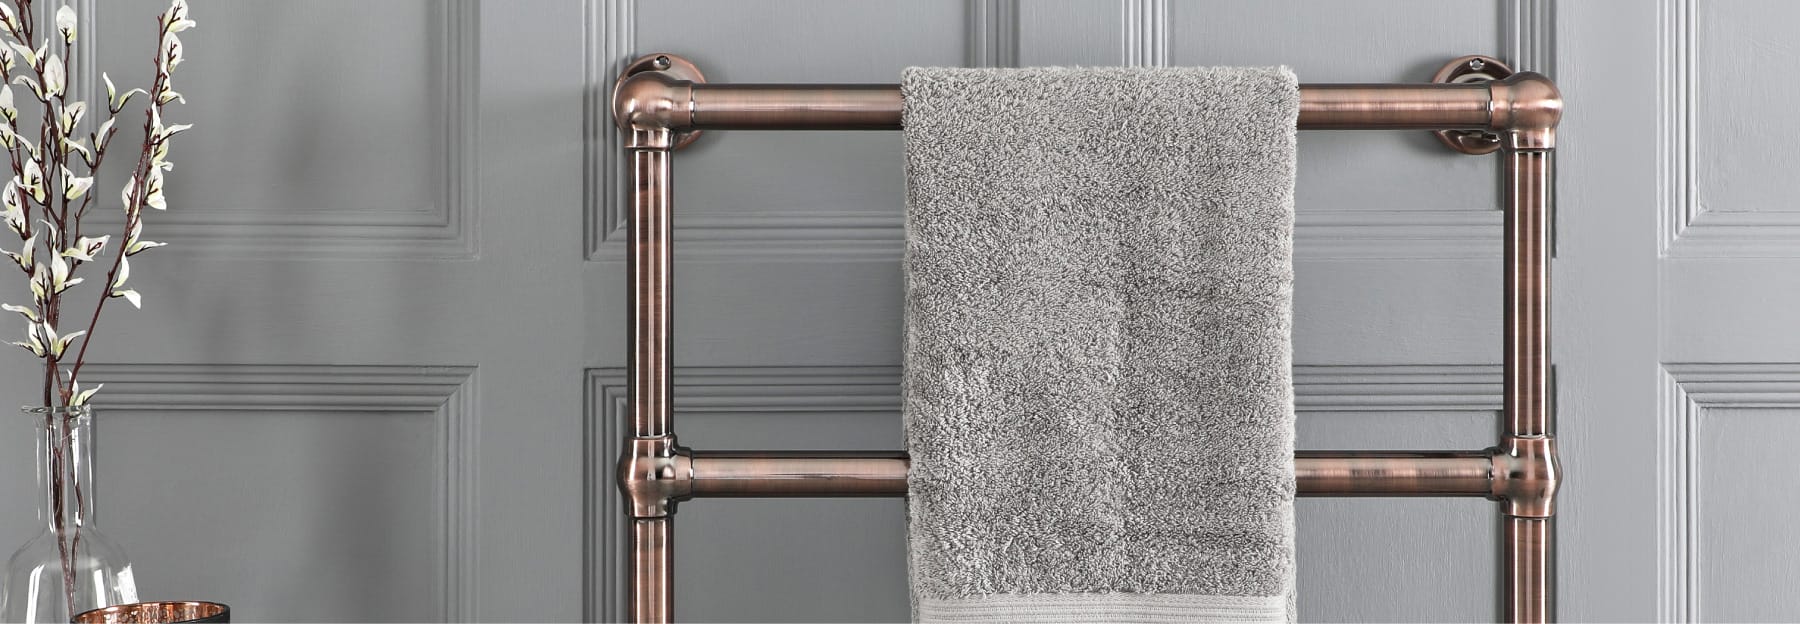
Choosing the Right Towel Rail
The first decision you'll need to make is which heated towel rail suits your space. There are a few things worth considering before you buy. Size matters — measure the available wall space and make sure the unit will fit comfortably without blocking doors, cabinets, or shower screens. A swivel-style rail is an excellent option for tighter areas because it can fold flat against the wall when not in use and swing out when you need it.
Wattage is another important factor. For most residential bathrooms, a 60-watt unit provides more than enough warmth to dry and heat your towels effectively. Lower wattage means lower running costs, and it also means the unit won't generate excessive heat — ideal if children or pets share the space.
Finally, consider the finish and build quality. Stainless steel and chrome finishes are durable, easy to clean, and resistant to the damp conditions found in every bathroom. Look for a unit that comes with solid mounting hardware and a pre-fitted plug or flexible wiring options.

Gathering Your Tools and Materials
Before you begin the installation, it's worth laying out everything you'll need. Having the right tools on hand saves time and prevents those frustrating mid-project trips to the hardware store. Here's what you should have ready:
Drill & appropriate bits — for wall mounting holes and cable routing
Spirit level — essential for getting the rail perfectly straight
Screwdriver set — both flat and Phillips head
Measuring tape — precision is key when marking bracket positions
Wire strippers & electrical tape — for cable preparation
Cable clips or zip ties — to secure and tidy the cable run
Digital multimeter — for testing connections after installation
Additionally, your towel rail should come with its own mounting brackets, bolts, washers, and lock nuts. Inspect the hardware before you start — if the included screws seem too short for your wall type (especially with thin panels or plywood), consider upgrading to M4 pan head bolts with 25mm washers and flat-faced lock nuts for a more secure, long-lasting hold.
Positioning and Mounting the Rail
Proper positioning is the foundation of a clean installation. Think carefully about where the rail will be most useful — close enough to the shower or bath for easy reach, but not so close that it obstructs movement. If you've chosen a swivel-style model, make sure there's adequate clearance for the rail to rotate freely.
Begin by holding the brackets against the wall at your desired height and marking the screw positions with a pencil. Here's an important tip: don't rely on the room itself to be level. Floors, ceilings, and door frames in many homes — and especially in caravans or older buildings — are not perfectly square. Always use a spirit level when marking your drill points. Measure from a fixed reference point like a door frame or countertop edge to keep things consistent.
Once you're satisfied with the positioning, drill your mounting holes. If you're working with thin walls or lightweight panels, consider reinforcing the mounting area from behind or using toggle bolts. For a standard wall, the included screws or upgraded bolts will do the job nicely.
Attach the brackets firmly and then clip or fasten the towel rail into place. Many models use a velcro-style fastening or a simple bracket hook system. Give it a firm tug once mounted to check stability — there should be zero play or wobble.

Wiring and Electrical Connection
⚡ Safety First — If you are not confident working with mains electricity, hire a qualified electrician. Incorrect wiring can cause fire, electric shock, or damage to your home's electrical system. Always turn off the power at the main breaker before beginning any electrical work.
Most electric towel rails arrive with a standard three-pin plug pre-fitted. While you can simply plug it into a nearby outlet, a neater and more permanent approach is to hardwire the unit through a switched fused outlet. This gives you a dedicated on/off switch — often with a neon indicator light so you can tell at a glance whether the rail is powered.
Start by cutting off the existing plug and checking the fuse rating. A 60-watt towel rail draws only about 0.25 amps, so a 3-amp fuse is perfectly adequate. If the pre-fitted plug contains a 13-amp fuse, swap it out for a 3-amp one — it's a small but important safety detail.
Next, route the cable from the towel rail to the location of your switched fused outlet. If the cable needs to pass through a wall or panel, drill a small hole just below the cable exit point on the rail. Leave a generous loop of cable at the rail end — this is especially important if your rail swivels, as the extra slack prevents the cable from straining or pulling when the unit is moved.
For the switched fused outlet, a flush-mounted unit creates the cleanest look. Mount the back box behind or into the wall panel, then feed the towel rail cable and the incoming supply cable through the box. Terminate both cables on the switched fused outlet, taking care to connect the load and supply sides correctly. Secure the faceplate with appropriate screws — you may need slightly longer ones than what comes in the box if you're working with thicker panels.
Routing and Tidying the Cable Run
A clean cable run makes the difference between a professional-looking installation and a messy one. Use adhesive cable clips and zip ties to secure the cable along its route, keeping it tight against walls, under furniture, or inside cavities wherever possible. The goal is to make the cable virtually invisible.
If you're connecting to an existing circuit, route the new cable to the nearest suitable socket or junction point. Make sure the circuit you're tapping into has adequate capacity — at only 60 watts, a heated towel rail adds negligible load, so in most cases you can safely spur off an existing socket that's already protected by its own circuit breaker.
When adding a new cable to an existing socket or junction box, take a moment to inspect the terminals. Even if the box already has two cables running into it, most standard back boxes can comfortably accommodate a third without any issues. Just make sure every connection is tight and secure before closing it up.
Testing and Final Checks
Before you celebrate with a cup of coffee and a warm towel, it's critical to test every connection thoroughly. Using a digital multimeter, verify continuity on all wiring connections. Check the earth impedance from the metal frame of the towel rail back to the main earth point — this ensures that if anything ever goes wrong, the safety mechanisms will function as intended.
Once you've confirmed all readings are within acceptable limits, power on the circuit and test the switched fused outlet. The neon indicator (if your unit has one) should light up when switched on, giving you a clear visual confirmation. Let the rail warm up for 15 to 20 minutes and check that heat is distributing evenly across all bars.
Finally, test the circuit breaker by switching it off and back on again to confirm everything resets cleanly. If you have an RCD (residual current device) in your consumer unit, press the test button to verify it trips and resets correctly. These final checks take only a few minutes but provide genuine peace of mind.
Project Summary
From start to finish, this installation takes approximately two hours for a competent DIYer. The total project cost — including the towel rail, mounting hardware, fused outlet, and cable — typically comes in under $120, though you can spend more or less depending on the quality of components you choose.
The end result is a bathroom upgrade that you'll appreciate every single day. Warm towels, a drier bathroom environment, and the satisfaction of a job well done — it doesn't get much better than that.
All that's left to do now is clean up the dust and enjoy the upgrade. Happy installing!