
Navigate with confidence from point to point once you master the fundamentals
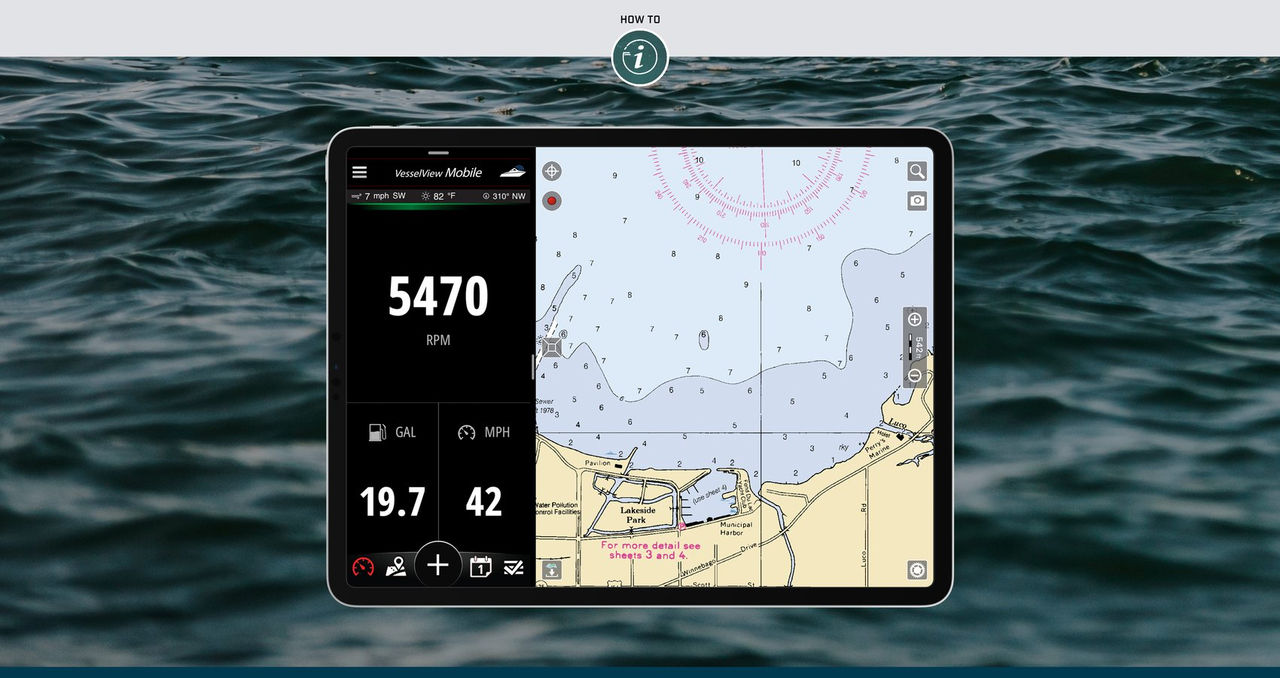
The chartplotter mounted at your vessel's helm represents a remarkable fusion of modern technology—a sophisticated device that displays detailed charts on an LCD screen, utilizes GPS for precise position tracking, and transforms navigation into an intuitive experience on the water. If you can operate a digital chart, navigating becomes second nature. The reality is, most recreational boaters need only grasp the fundamental functions of their chartplotter. And that's excellent news, because once you understand these core capabilities, you can confidently navigate just about any waterway.
Breaking it down to the core components and assuming you possess chart-reading abilities (essentially understanding waterway maps), mastering chartplotter navigation requires knowing these key skills:
- Establish waypoints on your navigation display
- Access the steering display and enable "go to" navigation functions
- Create routes by connecting multiple waypoint markers
- Activate the "MOB" emergency function
Upgrade Your Navigation Experience
Equip your vessel with professional-grade chartplotting technology
B&G Zeus® S 7 ChartplotterEstablishing Waypoints on Your Chartplotter
Waypoints serve as location markers you wish to identify and remember. They typically display as a dot or an "X" symbol on your navigation screen, though you can often select from various icon options: miniature fish, wreck symbols, rock formations, and more. Utilizing icons enables you to quickly scan and immediately recognize the different types of locations you've marked as waypoints, such as fish symbols for productive fishing areas or anchor icons for your preferred anchorage spots.
The precise method for creating waypoints differs between chartplotter models. On most touchscreen systems, you simply tap the screen at your desired location. A pop-up menu will then present options for creating a waypoint at your selected position. On units with keypads, the procedure generally involves pressing a key to establish a waypoint at your present location, or by moving a cursor to a position on the chart and then pressing a button to confirm.
Understanding Steering Display Functions
You can consistently reference the boat icon on your chartplotter to gain a clear understanding of your general heading. When actively navigating, some vessels prefer the chart orientation where north appears at the top, resembling a traditional paper chart. Others favor a course-up perspective where your heading remains fixed at the screen's top and the chart rotates as you maneuver. This configuration works exceptionally well for brief excursions when you have minimal turns to execute, and if you're traveling significant distances across open water, you're likely to spend considerable time zigzagging and zagging. In such scenarios, you can provide your helm operator with accuracy through a specialized steering display.
These displays take various forms on different systems, but most feature some type of visible compass rose indicating the degree of travel and the degree you need to steer to reach your waypoint. On some models, this information displays in a corner of the map screen. To utilize the steering screen effectively, you'll need to learn how to activate the unit's "go to" function (sometimes labeled "navigate to"). This may involve tapping on a waypoint or highlighting the waypoint name from a list of waypoints. Then you'll either press a "go to" button or select from a menu of options. By monitoring the degree you need to steer to reach your waypoint against your actual travel degree, you can make minor course adjustments and, under most conditions, maintain within two or three degrees of your planned course.
Creating Routes with Multiple Waypoints
Once you become proficient with waypoint usage, you can link a sequence of them together to form a route. This proves valuable when you're navigating a winding river or channel, visiting multiple destinations during one outing, or need to plot a course that circumvents shallow areas or obstructions between you and your target location. Most mariners invest the time to establish a multi-waypoint route when preplanning an extended or intricate journey.
Utilizing the MOB Emergency Button
Almost all chartplotters feature some variation of a man overboard (MOB) button or icon. On many touchscreen systems, it's accessible somewhere on the screen at all times. The principle behind the MOB button is straightforward: in an emergency situation, such as if you suddenly notice a crew member has gone overboard, you can instantly mark the location's coordinates with a single button press. This won't summon assistance for you, but it will enable you to immediately record your position the moment you notice something is wrong. Consequently, it's crucial for you to locate the MOB button and familiarize yourself with its operation as a safety precaution.
Essential Chartplotter Navigation Tips
Beyond these fundamental operations, numerous additional chartplotter functions will prove valuable as you navigate. One of the most frequently utilized features is displaying a "track" or "trail" that your vessel followed, which creates a visible breadcrumb trail on the display, showing exactly where you've traveled.
Most chartplotters also store tide information within their digital memory banks. The presentation of this data varies from unit to unit, so you'll need to conduct some exploration or consult the owner's manual to determine how to access it.
Once you become comfortable with your chartplotter's user interface and the standard displays it offers, you may want to configure a custom screen that better serves your specific preferences. For instance, some boaters prefer to establish a split-screen showing both digital water temperature display and chart information simultaneously, or to arrange a split-screen with chartplotter and depth finder displays both visible at once. Cruisers might prefer not to occupy screen space with water temperature information and instead opt to include a compass display or estimated time of arrival readout.
Keep in mind, we've only covered the fundamentals here. If your chartplotter is part of a networked multi-function display (MFD) system, you can access advanced functions such as overlaying radar information, streaming video feeds, monitoring engine diagnostics, or controlling an autopilot or stereo from the same screen. Naturally, the more sophisticated and complex your system, the longer it will require to master all its capabilities. But one thing is certain: once you understand these basic functions, you'll never struggle navigating from one point to another again.
Ready to Navigate with Confidence?
Invest in professional chartplotting equipment designed for serious mariners
Shop B&G Zeus® S 7Whether you're navigating coastal waters, exploring inland waterways, or venturing offshore, mastering your chartplotter fundamentals ensures every journey is safe, efficient, and enjoyable. Start with these core skills and expand your knowledge as your confidence grows on the water.