
Transform your outdoor or indoor space into a cinematic paradise with expert projector placement strategies
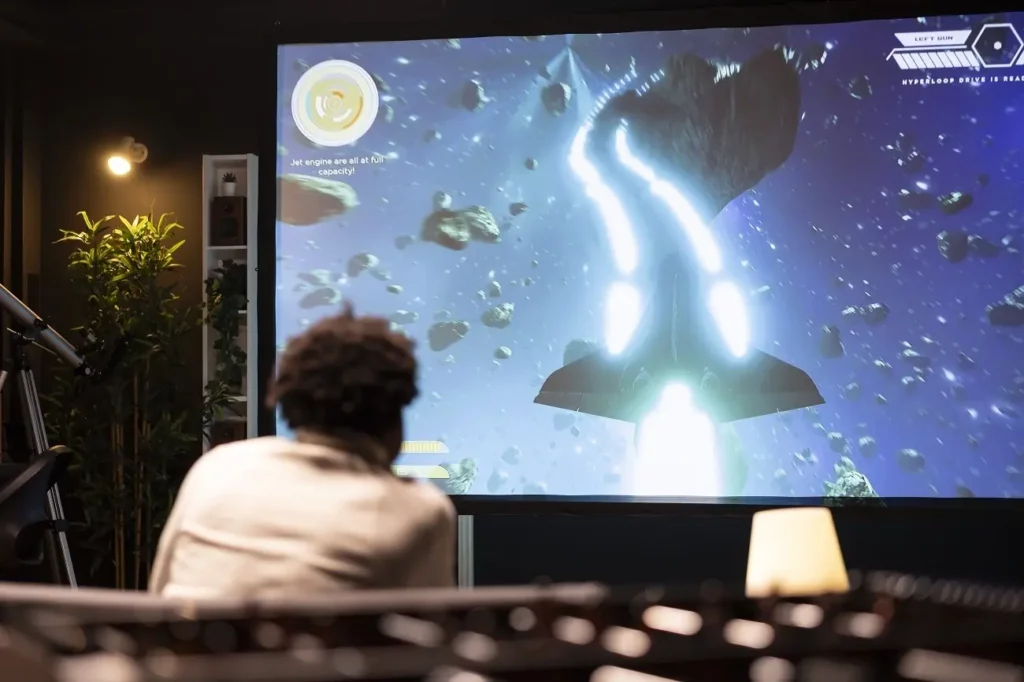
Planning to set up a home theater projector but unsure where to position it? You're not alone. Many homeowners and outdoor entertainment enthusiasts struggle with projector placement decisions that can significantly impact their viewing experience. Whether you're creating a backyard cinema under the stars or perfecting your indoor entertainment space, understanding the fundamentals of projector positioning is essential for achieving that perfect picture quality.
The challenge isn't just about mounting a projector on the ceiling or placing it on a table. Multiple factors come into play including room dimensions, screen size, throw distance, and ceiling height. One miscalculation can result in distorted images, uncomfortable viewing angles, or a picture that simply doesn't fit your screen properly.
In this comprehensive guide, we'll walk you through everything you need to know about home theater projector placement. From calculating optimal throw distances to understanding ceiling height requirements, we'll cover all the essential elements that contribute to creating your ideal viewing environment. Let's dive into the details and help you avoid common placement mistakes that could compromise your entertainment experience.
Essential Takeaways
- Critical information about home theater projector placement can elevate your entertainment setup to professional standards
- Proper projector positioning directly influences image quality, viewing comfort, and overall cinematic experience
- Understanding throw distance calculations enables you to achieve precise image dimensions and optimal clarity
- Ceiling height considerations ensure comfortable viewing angles and prevent neck strain during extended viewing sessions
- Strategic alignment techniques can dramatically enhance your visual experience and setup efficiency
Understanding Ceiling Height Requirements for Optimal Projector Placement
When establishing your home theater projector placement, ceiling height plays a fundamental role in determining both viewing comfort and image quality. The positioning elevation affects everything from projection angles to viewer comfort during extended movie sessions. Getting this measurement right from the beginning prevents costly adjustments later.
Standard Height Guidelines
Minimum Height: Most home theaters require a ceiling height of at least 9 feet to accommodate proper projector mounting and comfortable viewing angles.
Optimal Height: A ceiling height between 10 to 12 feet provides the ideal environment for most projection setups, allowing flexibility in screen size and positioning.
For outdoor entertainment areas or backyard theaters, you'll need to consider alternative mounting solutions if permanent structures aren't available. Portable stands and adjustable mounting systems offer excellent flexibility for creating temporary screening areas while maintaining professional presentation quality.
Calculating the Perfect Distance Between Your Projector and Screen
Determining the correct spacing between your projector and display surface represents one of the most critical calculations in your setup process. This measurement, known as throw distance, directly impacts image size, clarity, and overall picture quality. An incorrect calculation results in images that are either too large or too small for your designated screen area.
The throw distance calculation depends on your specific projector's throw ratio, which varies by model and manufacturer. Most home theater projectors feature throw ratios between 1.5:1 and 2.0:1, meaning the projector needs to be positioned 1.5 to 2 times the screen width away from the display surface. Understanding this relationship allows you to plan your space effectively and select the appropriate equipment for your environment.
Distance Calculation Formula
To determine your optimal projector placement distance, you'll want to consider multiple variables that affect the final positioning. The standard calculation involves multiplying your desired screen width by your projector's throw ratio. For instance, if you're aiming for a 100-inch diagonal screen with a 16:9 aspect ratio, your screen width will be approximately 87 inches.
Using a projector with a 1.5:1 throw ratio, you would position your device approximately 130 inches (roughly 11 feet) from the screen. However, most projectors offer some zoom flexibility, providing a range rather than a fixed distance. This flexibility allows for minor adjustments without compromising image quality.
Short Throw Projectors
Minimum distance of 3 to 8 feet, ideal for compact spaces and close-range projection setups where space is limited.
Standard Throw Projectors
Typical distance range of 8 to 12 feet, perfect for most residential applications and balanced room configurations.
Long Throw Projectors
Requires distances exceeding 12 feet, best suited for large venues, outdoor theaters, and spacious entertainment areas.
After determining your throw distance requirements, you can position your projector at the calculated measurement distance. Keep in mind that environmental factors such as ambient light, screen material, and room dimensions may require minor adjustments to achieve optimal results. Always consult your projector's specifications and consider using manufacturer-provided calculators for the most accurate positioning guidance.
Six Critical Steps for Perfect Home Theater Projector Positioning
Setting up your home theater projector correctly requires following a systematic approach that ensures optimal performance and viewing satisfaction. These steps represent the culmination of industry best practices and professional installation techniques. The projector setup process becomes significantly more manageable when approached methodically, allowing you to troubleshoot issues before they become permanent problems.
Determine Optimal Viewing Distance
Begin by calculating the ideal distance between your seating area and screen based on screen size and resolution. This foundational measurement influences all subsequent positioning decisions and ensures comfortable viewing experiences.
Evaluate Ceiling Height
Assess your available vertical space and ensure adequate clearance for mounting hardware. Consider both the projector dimensions and necessary adjustment range for achieving proper downward angles that prevent image distortion.
Prevent Obstructions
Survey the projection path for potential obstacles such as lighting fixtures, ceiling fans, or architectural features. Even small obstructions can create distracting shadows or interfere with image quality, particularly in smaller rooms.
Achieve Perfect Alignment
Center the projector lens precisely with your screen, accounting for both horizontal and vertical positioning. Proper alignment minimizes the need for extensive keystone correction, which can reduce image quality and introduce unwanted artifacts.
Mount Securely
Install mounting hardware using appropriate anchors and support structures rated for your projector's weight. Consider future-proofing your installation by selecting mounts with adjustment capabilities that accommodate potential equipment upgrades.
Optimize Image Settings
Fine-tune focus, keystone correction, and zoom settings after physical installation is complete. Make micro-adjustments while displaying test patterns to ensure uniform sharpness across the entire image area and verify that colors appear accurate.
Advantages and Considerations of Home Theater Projectors
Before committing to a projector-based entertainment system, it's valuable to understand both the benefits and potential challenges associated with this technology. Home theater projectors offer unique advantages that traditional televisions cannot match, but they also come with specific considerations that may influence your decision.
Key Benefits
- Massive screen sizes that create truly immersive cinematic experiences unmatched by even the largest televisions
- Space-efficient design that disappears when not in use, perfect for multi-purpose rooms and minimalist aesthetics
- Flexible installation options including ceiling mounts, shelf placements, and portable configurations
- Superior viewing experience for movies, sports, and gaming when properly configured in appropriate environments
- Cost-effective solution for achieving theater-sized displays compared to equivalent ultra-large televisions
- Reduced eye strain during extended viewing sessions due to reflected rather than emitted light
- Excellent portability for outdoor entertainment, backyard movie nights, and temporary event setups
Important Considerations
- Superior image quality demands controlled lighting environments and may require window treatments or dedicated viewing spaces
- Ambient light significantly impacts picture brightness and color accuracy, potentially limiting daytime viewing options
- Regular maintenance requirements including periodic lamp replacements and filter cleaning for optimal performance
- More complex installation processes compared to traditional televisions, often requiring professional setup assistance
- Replacement lamp costs can accumulate over time, though LED and laser projectors minimize this concern
- Audio systems require separate consideration as most projectors feature minimal built-in speaker capabilities
Understanding these factors helps you make informed decisions about whether a projector-based system aligns with your entertainment goals and environmental conditions. For many homeowners and outdoor entertainment enthusiasts, the benefits far outweigh the considerations, especially when proper planning addresses potential challenges during the initial setup phase.
Advanced Tools for Precision Projector Placement
Modern technology provides sophisticated tools that eliminate guesswork from the projector placement process. These resources help you achieve professional results without extensive technical knowledge or trial-and-error positioning attempts. Leveraging these tools saves time, prevents installation mistakes, and ensures optimal performance from your equipment investment.
Professional Calculation Resources
Manufacturer Distance Calculators: Enter your desired screen size, and these specialized tools provide exact placement measurements based on your specific projector model's optical characteristics.
Throw Distance Applications: Mobile apps allow real-time calculations and positioning assistance, helping you visualize placement options before making permanent installation decisions.
Screen Size Calculators: Determine the optimal screen dimensions for your viewing distance, room size, and seating arrangement to maximize visual comfort.
Ambient Light Assessment Tools: Evaluate your environment's lighting conditions and receive recommendations for projector brightness specifications that overcome ambient light challenges.
Many projector manufacturers provide dedicated online calculators specifically designed for their product lines. These tools account for unique lens characteristics, zoom ranges, and offset specifications that generic calculators might miss. Investing time in using the correct calculator for your equipment prevents positioning errors that could compromise your viewing experience.
Additionally, consider consulting with installation professionals or seeking guidance from specialized retailers who understand the nuances of projector placement. Their experience with various room configurations and equipment combinations can provide insights that calculation tools alone cannot offer, ensuring your setup achieves its full potential.
Ready to Create Your Perfect Home Theater Experience?
Discover the cinema-quality performance of the BenQ HT2050 Home Cinema Projector, featuring vertical lens shift for simplified installation and exceptional image quality. This manufacturer-refurbished unit delivers the performance you need at an outstanding value, perfect for bringing your home theater dreams to life.
BenQ HT2050 ProjectorCreating Your Ideal Entertainment Environment
Successfully positioning a home theater projector requires balancing technical specifications with practical considerations specific to your space. Whether you're establishing an outdoor entertainment area in your backyard or perfecting an indoor theater room, the principles of proper placement remain consistent. Distance calculations, ceiling height requirements, and alignment precision all contribute to creating viewing experiences that rival commercial cinemas.
Remember that projector placement isn't a one-size-fits-all solution. Your unique environment, equipment specifications, and viewing preferences all influence the optimal configuration. Take time to carefully measure your space, consult manufacturer guidelines, and consider how ambient lighting affects your setup. These preparatory steps ensure that once installed, your projector delivers the stunning visual performance you expect.
With proper planning and attention to positioning details, your home theater projector becomes the centerpiece of memorable entertainment experiences. Whether hosting outdoor movie nights under the stars or creating the ultimate gaming environment indoors, correct projector placement transforms ordinary spaces into extraordinary venues that family and friends will enjoy for years to come. Start your installation journey with confidence, knowing that following these guidelines sets the foundation for cinematic excellence in your own backyard or home theater.