
Hydraulic systems depend on precise calibration to deliver reliable performance and long service life. Two critical settings on any hydraulic pump — the load sense adjustment and the pressure compensator adjustment — directly influence how well your system responds to changing demands and how effectively it protects internal components from excessive pressure.
Whether you're operating construction equipment, powering skid-mount hydraulic tools, or maintaining outdoor machinery, understanding how to fine-tune these settings can save you time, energy, and costly repairs. This guide walks you through the entire process step by step.
Why Adjust Load Sense & Pressure Compensator Settings?
Hydraulic pumps are engineered to respond dynamically to system demands while conserving energy. Correctly configuring the load sense and pressure compensator controls empowers your pump to:
Cut Unnecessary Energy Use
Reduce fuel and power consumption by matching output to actual demand.
Faster Load Response
Ensure the system reacts quickly when workload changes occur.
Prevent Pressure Buildup
Protect hoses, valves, and seals from dangerous overpressure conditions.
Extend Equipment Life
Minimize wear on pump internals and downstream components.
Now let's walk through the adjustment procedure from preparation to final testing.
Preparation
Safety comes first. Before touching any adjustment screws, complete these critical preparation steps:
SAFETYPower Down & Depressurize the System — Shut off the hydraulic system completely and make sure all stored pressure has been safely relieved before you begin any work.
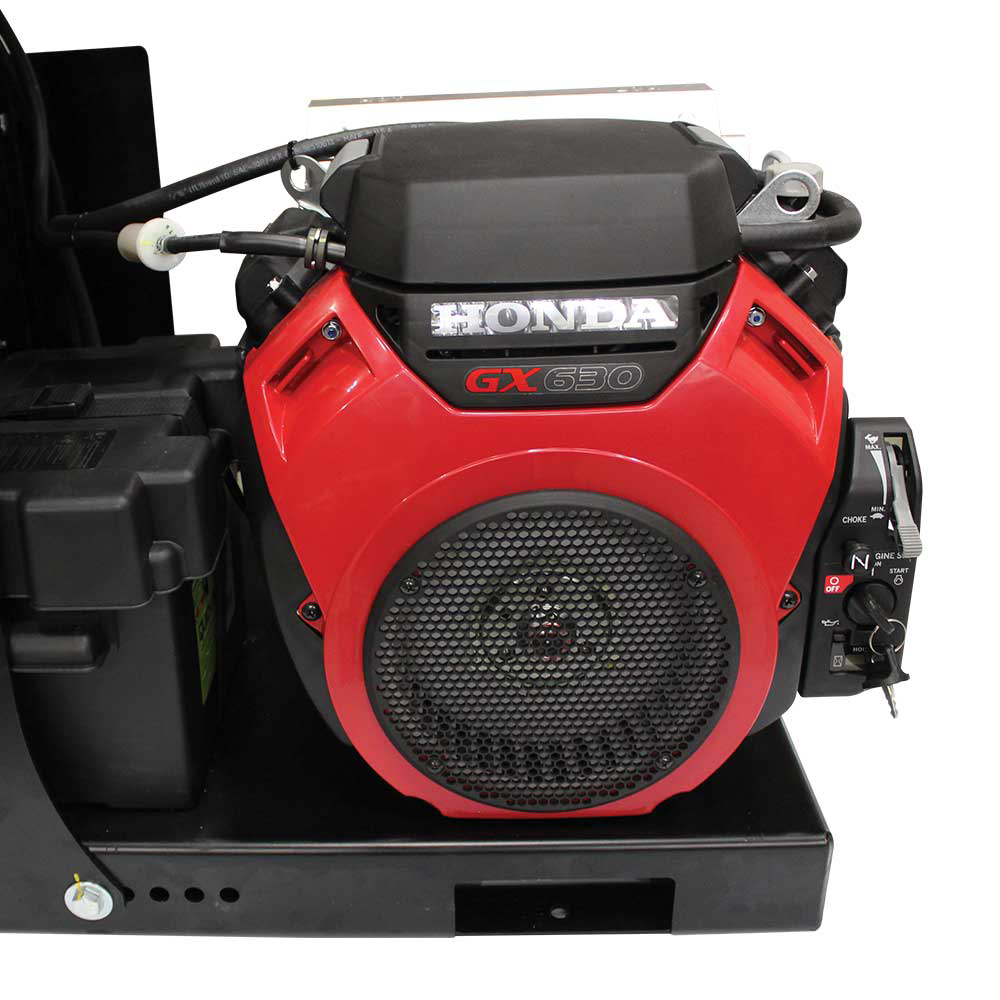
LOCATEFind the Key Components — Identify the pressure compensator adjustment screw and the load sense adjustment screw on your pump. Both are typically located on or near the pump control housing.
TOOLSGather Your Equipment — Have a reliable pressure gauge, appropriate wrenches, and a screwdriver or hex key on hand (specific tools vary by pump model).
Adjusting the Pressure Compensator
The pressure compensator governs the maximum pressure your pump can generate. Dialing this in correctly prevents the system from overworking and shields downstream components from damage.
Adjustment Process:
Release the Lock Nut — Loosen the lock nut that holds the adjustment screw in position.
Rotate the Adjustment Screw:
↻ Clockwise — Raises the maximum system pressure.
↺ Counterclockwise — Lowers the maximum system pressure.
Watch the Pressure Gauge — Monitor live pressure readings as you turn the screw. Your target is to match the pressure requirement of your specific hydraulic circuit.
Lock It Down — When you've hit the desired pressure, tighten the lock nut firmly to secure the setting in place.
💡 Pro Tip: Set the compensator slightly above your system's maximum working pressure. This small buffer absorbs pressure spikes without pushing components past their limits.
Adjusting the Load Sense
The load sense system continuously adapts pump output based on real-time demand. Rather than running at full capacity all the time, a properly tuned load sense setting ensures the pump delivers only the flow and pressure the circuit actually needs — saving energy and reducing heat buildup.
Adjustment Process:
Release the Lock Nut — Loosen the lock nut securing the load sense adjustment screw.
Rotate the Adjustment Screw:
↻ Clockwise — Increases load sense pressure, making the pump more responsive to demand changes.
↺ Counterclockwise — Decreases load sense pressure, reducing pump responsiveness.
Observe System Response — Pay attention to how the system reacts as you make incremental adjustments. You're looking for smooth, consistent operation without erratic pressure fluctuations or jerky movement.
Lock It Down — Once the system responds optimally, tighten the lock nut to hold the setting.
💡 Pro Tip: Fine-tuning the load sense is especially important in applications where demand fluctuates significantly. Getting this right improves both efficiency and overall system longevity.
Final Checks & Testing
With both adjustments complete, it's time to verify everything is functioning correctly under real working conditions.
✔ Run Under Load
Operate the hydraulic system under normal working conditions and confirm it performs as expected.
✔ Listen & Observe
Watch for unusual noises, unexpected temperature increases, or erratic pressure readings on the gauge.
✔ Check for Leaks
Inspect all fittings, connections, and seals to make sure everything is tight and secure before committing to full operation.
✔ Fine-Tune If Needed
Small tweaks may be necessary to dial in optimal performance. Don't hesitate to revisit the adjustment screws for minor corrections.
Power Your Hydraulic Setup
Looking for a reliable, portable hydraulic power source to pair with your equipment? The BravePro® Hydra Buddy™ delivers serious hydraulic output in a compact skid-mount package.
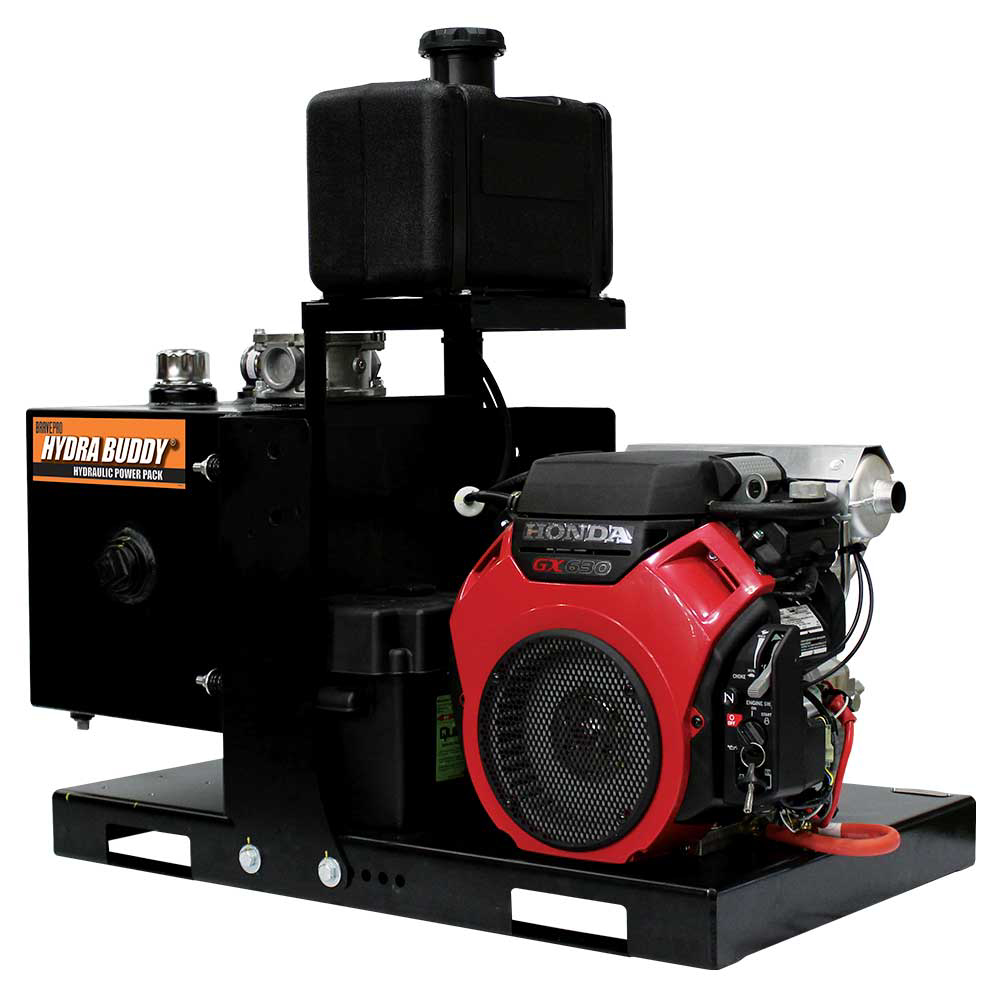
BravePro® Hydra Buddy™ Power Pack
Why Trust Backyard Provider for Your Hydraulic Needs?
At Backyard Provider, we're committed to equipping you with the knowledge and products you need to tackle any outdoor or construction project with confidence. Our focus is on delivering practical solutions, reliable equipment, and expert guidance that actually makes a difference on the job site.
🔧
Trusted Equipment
We carry proven brands backed by real-world performance.
📦
Tailored Solutions
Find the right product for your specific setup and requirements.
📞
Hands-On Support
Our team is ready to help with questions, troubleshooting, and recommendations.
For more tips on hydraulic system maintenance and equipment selection, keep exploring our guides. And when you're ready to upgrade your hydraulic toolkit, Backyard Provider has the gear you need to get the job done right.