
Unlock the full potential of your grill with professional rotisserie techniques that deliver perfectly cooked, evenly roasted meats every time
Rotisserie cooking transforms ordinary grilling into an art form, delivering restaurant-quality results right in your backyard. Whether you're preparing a succulent whole chicken, a tender roast, or perfectly cooked ribs, mastering your rotisserie setup is the foundation for culinary excellence. This comprehensive guide walks you through every essential step, from initial equipment preparation to advanced cooking techniques that will elevate your outdoor cooking game.
Essential Equipment for Rotisserie Success
Before igniting your grill, ensuring you have the right tools makes all the difference between frustrating attempts and flawless execution. The proper equipment not only simplifies the cooking process but also ensures safety and consistency in your results.
- High-quality rotisserie spit rod with secure locking mechanism and heat-resistant construction
- Heavy-duty meat forks designed to grip various sizes and types of proteins firmly
- Heat-resistant gloves offering full hand and wrist protection during handling
- Reliable meat thermometer for precision temperature monitoring throughout the cook
- Drip pan positioned correctly to catch rendered fats and prevent flare-ups
- Optional counterbalance weight system for larger, unevenly shaped cuts
Pro Insider Tip
Before your first cook session, perform a test run with your rotisserie motor without food. This allows you to verify smooth rotation, check for any unusual sounds or vibrations, and ensure all connections are secure. This five-minute check can prevent mid-cook disasters and costly equipment damage.
Step-by-Step Rotisserie Setup Guide
Proper assembly and setup create the foundation for rotisserie mastery. Following these detailed steps ensures your equipment functions optimally and your food cooks evenly from start to finish.
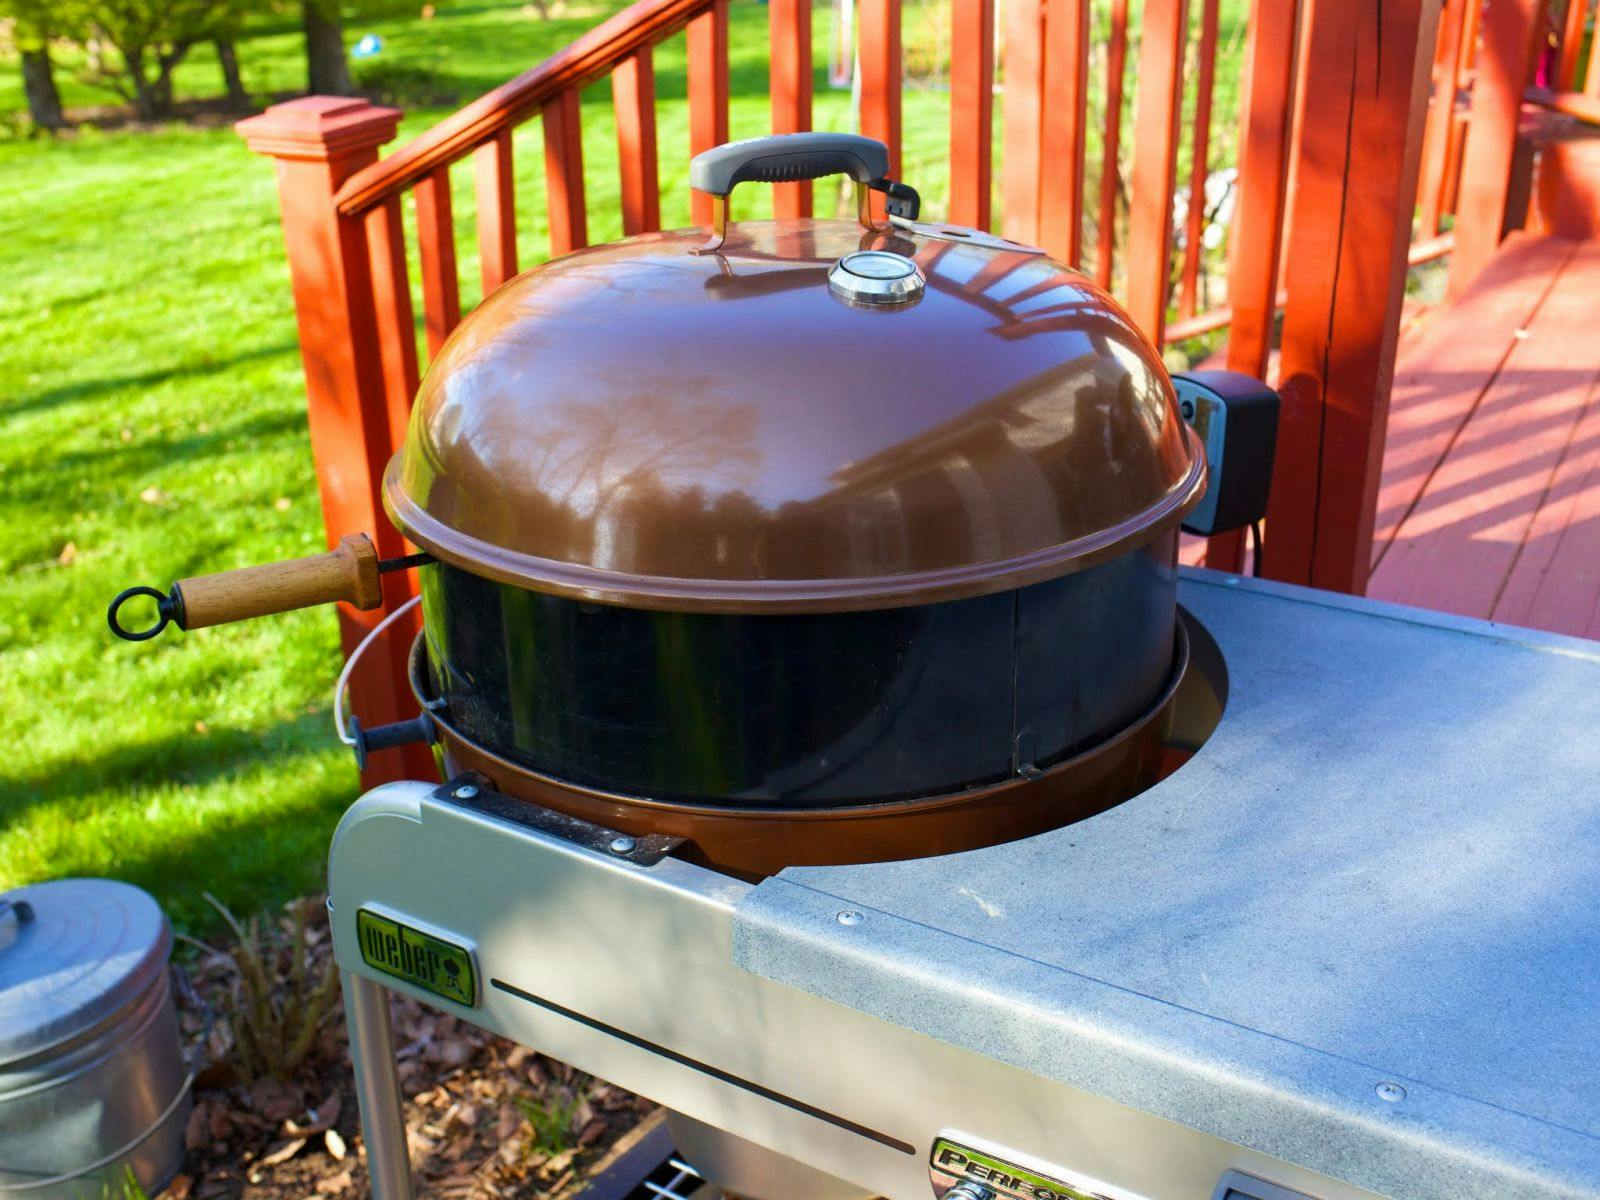
Prepare Your Grill Base
Start with a thoroughly cleaned grill, removing any residual ash, grease buildup, or debris from previous cooking sessions. Position your charcoal or adjust your gas burners according to the indirect heat method—fuel sources on the outer edges, leaving the center clear. This configuration allows heat to circulate around the rotating food rather than directly beneath it, preventing scorching while ensuring even cooking.
.jpg?auto=compress,format)
Install the Rotisserie Motor Assembly
Securely mount the rotisserie motor to your grill's designated bracket, ensuring it sits level and stable. Most quality motors feature adjustable mounting points—take advantage of these to achieve perfect alignment. Connect the spit rod to the motor's coupling mechanism, verifying that it locks firmly in place with no wobble or play. Test the motor briefly to confirm smooth, consistent rotation before proceeding.

Thread and Secure Your Meat
Slide one meat fork onto the spit rod with the tines facing inward toward the center. Carefully thread the spit rod through the protein, aiming for the center of mass to maintain balance during rotation. For whole poultry, enter through the cavity and exit through the neck area. For roasts, find the natural centerline. Add the second fork on the opposite end, pressing both forks firmly into the meat, then tighten all screws securely.

Balance and Test Rotation
This critical step separates amateur attempts from professional results. Support the loaded spit rod horizontally across your palms or two stable supports. Gently rotate it and observe—if one side consistently falls downward, you have an imbalance. Adjust the meat position slightly or add a counterbalance weight if your system includes one. Once balanced, the rod should hold any position without rotating on its own. Mount the balanced assembly onto your grill, engage the motor, and watch for smooth, even rotation.
Position the Drip Pan
Place an adequately sized drip pan directly beneath the rotating meat, centered under the spit rod's path. This essential component catches rendered fats and juices, preventing dangerous flare-ups while creating a flavorful base for gravies or sauces. Add a small amount of water, beer, or aromatic liquids to the pan—this helps regulate temperature, adds moisture to the cooking environment, and prevents collected drippings from burning.
Safety First
Always wear heat-resistant gloves when handling the spit rod, especially during installation and removal. Metal components reach extreme temperatures quickly and retain heat long after cooking ends. Additionally, ensure children and pets maintain a safe distance from operating rotisserie equipment—moving parts and exposed heat sources present serious hazards.
Temperature Management and Cooking Guidelines
Achieving rotisserie perfection depends heavily on maintaining consistent, appropriate temperatures throughout the cooking process. Unlike traditional grilling methods, rotisserie cooking relies on gentle, indirect heat that circulates continuously around the food.
Target Temperature Zones
For most rotisserie applications, establish and maintain a grill temperature between 300°F and 350°F. This moderate heat range allows proteins to cook through evenly while developing a beautiful, golden-brown exterior. Lower temperatures risk extended cooking times that dry out meats, while higher temperatures can char surfaces before interiors reach safe temperatures.
Monitor your grill's ambient temperature using built-in thermometers or, preferably, a separate probe thermometer positioned at grate level. Make gradual adjustments to your fuel source—adding small amounts of charcoal or adjusting gas burner settings incrementally—to maintain your target range throughout the cook.
Internal Temperature Targets
Food safety and optimal texture depend on reaching proper internal temperatures:
- Whole poultry: 165°F in the thickest part of the thigh, away from bone
- Pork roasts and whole loins: 145°F followed by a three-minute rest
- Beef roasts: 135°F for medium-rare, 145°F for medium
- Lamb: 145°F for medium-rare, 160°F for medium
Temperature Monitoring Strategy
Insert your thermometer probe into the thickest portion of the meat before starting the rotisserie motor. Many modern wireless thermometers allow continuous monitoring without opening the grill, preserving heat consistency. Begin checking temperatures when you're approximately 75% through your estimated cooking time, then monitor more frequently as you approach target temperatures.
Advanced Techniques for Superior Results
Once you've mastered the fundamentals, these professional techniques take your rotisserie cooking to competition-worthy levels.
Trussing for Even Cooking
Properly trussing poultry creates a compact, uniform shape that promotes even cooking and prevents loose appendages from burning. Use cotton butcher's twine to tie legs together and secure wings tight against the body. This simple step dramatically improves heat distribution and final presentation, yielding professional-looking results that cook more predictably.
Seasoning and Marination Strategy
Apply dry rubs generously at least two hours before cooking, or overnight for deeper flavor penetration. The gentle, extended cooking time of rotisserie methods allows seasonings to develop complex flavor profiles. For marinades, apply them no more than 12-24 hours in advance—longer periods can break down surface proteins excessively, creating mushy textures. Always pat surfaces dry before mounting on the spit to encourage proper browning.
Managing Flare-Ups and Hot Spots
Despite your best drip pan efforts, occasional flare-ups may occur as fats render during cooking. Keep your grill lid closed as much as possible to limit oxygen supply to any flames. If significant flare-ups persist, temporarily turn off burners or spread coals further apart to reduce direct heat. Never spray water directly onto flames—this creates steam that can impart off-flavors and disturb the cooking environment.
Post-Cook Resting and Carving
The cooking process doesn't end when you remove food from heat. Proper resting allows juices to redistribute throughout the meat, preventing them from flooding out onto your cutting board when you carve.
Transfer your finished rotisserie creation to a clean cutting board and loosely tent with aluminum foil. Allow smaller roasts and poultry to rest for 15-20 minutes, while larger roasts benefit from 20-30 minutes of resting time. This brief wait rewards patience with noticeably juicier, more flavorful results.
When carving, use a sharp knife and smooth, confident strokes. For poultry, remove legs and wings first, then slice breast meat against the grain in even portions. For roasts, identify the grain direction and slice perpendicular to those muscle fibers for maximum tenderness.
Juice Recovery Technique
Collect any juices that accumulate during resting and combine them with drippings from your drip pan. Skim excess fat from the surface, then reduce these combined juices over medium heat on your stovetop to create an intensely flavored pan sauce or au jus that perfectly complements your rotisserie masterpiece.
Maintenance and Equipment Care
Proper maintenance extends the life of your rotisserie equipment and ensures reliable performance for years of outdoor cooking adventures.
After each use, allow components to cool completely before handling. Clean the spit rod and meat forks thoroughly with hot, soapy water, removing all food residue and grease buildup. Pay special attention to the fork tines where proteins can become lodged. Dry all components completely before storage to prevent rust formation.
Inspect your motor housing periodically, wiping away any grease splatter or accumulated debris. Check all electrical connections for signs of wear or corrosion, especially if your rotisserie is exposed to outdoor elements. Most quality motors feature sealed housings that require minimal maintenance beyond basic cleaning.
Store your rotisserie equipment in a dry location protected from weather extremes. If outdoor storage is unavoidable, invest in protective covers designed specifically for rotisserie components.
Upgrade Your Rotisserie Arsenal
Ready to take your outdoor cooking to the next level? The Cal Flame Rotisserie Kit delivers professional-grade performance with a complete 5-burner rod system engineered for durability and precision. This comprehensive kit provides everything needed for rotisserie excellence, from heavy-duty spit rods to commercial-quality forks designed to handle your most ambitious cooking projects.
Cal Flame Rotisserie KitCommon Troubleshooting Solutions
Even experienced rotisserie enthusiasts occasionally encounter challenges. Here's how to address the most common issues:
Uneven Cooking or Cold Spots
If one side of your meat cooks faster than the other, check your heat source distribution. Ensure burners or coals are positioned symmetrically and producing equal heat output. Verify that the rotisserie motor maintains consistent rotation speed—irregular turning creates uneven exposure to heat.
Motor Struggling or Stopping
An overloaded spit or poor balance forces motors to work harder than designed. Most rotisserie motors handle loads up to 20-25 pounds, but exceeding capacity or poor weight distribution can cause stalling. Verify your load falls within specifications and recheck your balance. Clean the motor coupling point if food debris has accumulated, potentially causing binding.
Excessive Smoke Production
While some smoke is normal and desirable, overwhelming smoke usually indicates dripping fats contacting heat sources directly. Ensure your drip pan is positioned correctly and contains adequate liquid. Clean grill grates and flavorizer bars before cooking to remove old grease buildup that can smolder when reheated.
Conclusion: Your Rotisserie Journey Begins
Mastering rotisserie cooking opens an exciting dimension in outdoor culinary arts. The techniques outlined in this guide provide the foundation for countless successful cooks, from weeknight family dinners to impressive holiday centerpieces that earn rave reviews from every guest.
Remember that expertise develops through practice. Your first few attempts may require extra attention and adjustment, but each cook builds your intuition for proper setup, temperature management, and timing. Soon, these processes become second nature, allowing you to focus on experimenting with different proteins, flavor profiles, and presentation styles.
The investment in quality rotisserie equipment and the time spent perfecting your technique pay dividends in consistently exceptional results. There's something undeniably satisfying about watching your creation rotate slowly over glowing coals or flickering flames, knowing that with proper preparation and patience, you're creating something truly special.
Fire up your grill, apply these proven techniques, and discover why rotisserie cooking has captivated outdoor chefs for generations. Your backyard is about to become the neighborhood's favorite destination for unforgettable meals.