
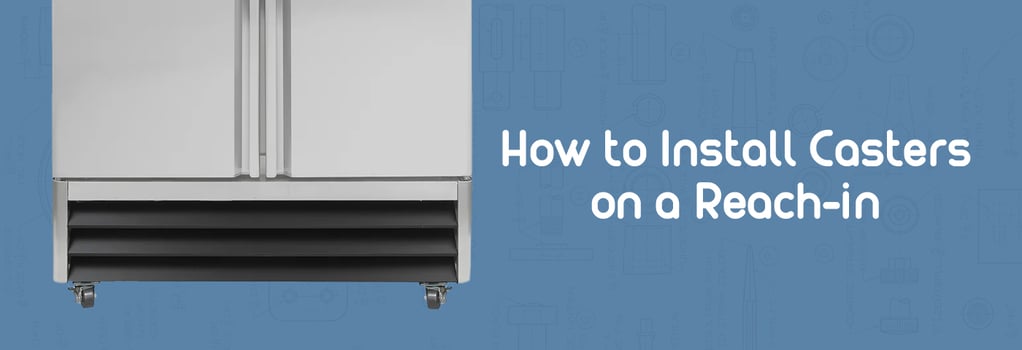
How to Install Casters on a Reach-In
Adding casters to a commercial reach-in refrigerator or freezer might seem intimidating, but it doesn't have to be. These units are large and heavy by design, yet they often need to be repositioned for routine cleaning and upkeep. Fortunately, most reach-in models support caster installation.
Properly mounting casters helps protect the equipment and your floors. To simplify things, we've assembled clear guidelines below. You can watch the accompanying installation video or follow the written step-by-step walkthrough to get casters onto your reach-in cooler the right way.
⚠ Warnings & Precautions
- Not every reach-in supports casters. Always verify your unit's product specifications before purchasing or attempting to install casters.
- Never install casters on heavy equipment by yourself. Enlist at least one additional person to assist you throughout the entire installation process.
- Mount brakes or locking casters at the front. This keeps the braking mechanism within easy reach so employees can quickly lock and unlock the wheels.
- Confirm the unit is perfectly level before powering on. Use a bubble level and check front-to-back as well as side-to-side. If the cooler is even slightly tilted, adjust the casters or add shims. An unlevel reach-in can seriously damage the evaporator.
- If the unit ships on its side or must be tipped, allow it to stand upright for at least 24 hours before plugging it in and turning it on. Skipping this step may harm the refrigeration system or lead to improper operation.
Reach-In Caster Installation Video
Step-by-Step Guide to Caster Installation
As demonstrated in the installation video above, the exact procedure can differ depending on the reach-in's size and configuration. To accommodate various models, we've organized the instructions into two main sections. Whether your unit features one, two, or three doors, the steps below will walk you through the process from beginning to end.
2-Door and 3-Door Models
Always consult your unit's user manual before starting any installation. When you're ready, position the reach-in as close to its final location as possible so you can slide it into place once the casters are attached.
- Detach the front louvre and rear grille, then unbolt the unit from the pallet.
- Tilt the reach-in on the pallet until all four threaded caster openings are exposed.
- Have one person stabilize the equipment while another uses a pallet jack to lift it high enough to access the underside for caster mounting.
- Determine whether any casters feature brakes or locks. Always thread braking casters into the front corners of the unit and tighten them firmly.
- Lower the pallet jack and remove the pallet. For units with middle casters, reposition the jack underneath the equipment—making sure the front and rear rails rest securely on the jack—before raising the unit again.
- Thread the middle casters into their designated slots and tighten securely.
- Set the equipment down on the floor with the jack, then use a level to verify it's even from side to side and front to back. If it's uneven, adjust the casters until the unit sits perfectly level.
Single-Door Models
Most single-door reach-ins can be tipped onto their sides for a faster, more straightforward caster installation. Be sure to review your user manual and care instructions before tipping or beginning the process. Never attempt to tip a single-door unit without assistance. You'll need at least two people to safely handle heavy equipment.
- Place the unit on a stable, flat surface and carefully tip it onto its side.
- Thread the braking or locking casters in first, making sure they face the front of the unit. Engage the brakes before moving on to the rear casters.
- Install the remaining rear casters. If all four casters have locking brakes, engage the rear brakes as well.
- Tip the unit upright and check it with a level. If it's not perfectly even, adjust the casters until it sits flat.
- Allow the unit to remain upright for a minimum of 24 hours before plugging it in.
Interested in learning more about keeping your commercial refrigerator level and running smoothly? Check out our guide on how to prevent common commercial cooler malfunctions—it's packed with practical advice for protecting your evaporator and extending the life of your equipment.
NOTE: The information in this guide is intended for reference purposes only. Always review your reach-in's user manual and care guide before beginning any installation. Follow all applicable safety precautions and exercise sound judgment whenever moving or modifying heavy equipment.