

Every serious DIY enthusiast, hobbyist, or professional tradesperson knows the value of a well-built workbench. It serves as the foundation of your workshop—a place where projects come to life, tools find their home, and creativity meets craftsmanship. This comprehensive guide walks you through constructing a robust garage workbench featuring an integrated pegboard for tool organization, a spacious storage cabinet, and a practical bottom shelf for additional storage capacity.
Unlike flimsy store-bought alternatives, this workbench is engineered for durability and longevity. Constructed primarily from sturdy lumber and plywood, it can withstand heavy loads, constant use, and the rigors of demanding workshop activities. Whether you're restoring furniture, building custom projects, or tackling automotive repairs, this workbench will serve as your reliable workspace for years to come.
The total project cost remains budget-friendly while delivering professional-grade results. With careful planning and methodical execution, even those with moderate woodworking experience can complete this build successfully over a weekend or two.
Why Build Your Own Workbench?
Commercial workbenches often fall short in terms of sturdiness, customization options, and overall value. By building your own, you gain complete control over dimensions, features, and construction quality. You can tailor the height to match your ergonomic needs, adjust the depth to fit your garage space, and incorporate storage solutions that align with your specific workflow.
Additionally, the satisfaction of working on a bench you built yourself adds an intangible value that no purchase can replicate. Every project completed on your handcrafted workbench carries a sense of pride and accomplishment.

Materials You'll Need
Gathering quality materials upfront ensures a smooth building process. For the frame and legs, you'll require dimensional lumber—specifically 2x4s and 4x4s for maximum strength and stability. The worktop surface calls for thick plywood or MDF, depending on your preference for durability versus smoothness. Cabinet construction utilizes standard plywood sheets, while the pegboard component uses standard 1/4-inch pegboard material.
Hardware requirements include wood screws in various lengths (ranging from 1.5 inches to 3 inches), wood glue for reinforced joints, cabinet hinges, a door handle or knob, and optional drawer slides if you choose to incorporate pull-out storage. Finishing supplies encompass sandpaper in multiple grits, wood stain or paint in your preferred color, and protective polyurethane coating.


Essential Tools for the Project
Success depends heavily on having the right tools at your disposal. A circular saw or table saw handles the primary cutting duties, while a power drill with various bits manages assembly. A measuring tape, carpenter's square, and level ensure precision throughout the build. Clamps prove invaluable for holding pieces steady during gluing and assembly stages.
A random orbital sander speeds up the finishing process considerably, though hand-sanding remains an option for those without power sanders. Safety equipment including eye protection, hearing protection, and dust masks should always be worn during cutting and sanding operations.
Planning Your Design
Before cutting any lumber, invest time in thorough planning. Measure your available garage space carefully, accounting for clearance around the workbench for comfortable movement. Standard workbench height ranges from 34 to 38 inches, though taller individuals may prefer heights up to 42 inches. Consider your most common tasks when determining the ideal working height.
Sketch out your design including all dimensions, noting the placement of the pegboard, cabinet location, and shelf positioning. This planning phase prevents costly mistakes and material waste during construction. Many builders find it helpful to create a simple cardboard mockup to visualize the final product in their space.

Step 1: Constructing the Base Frame
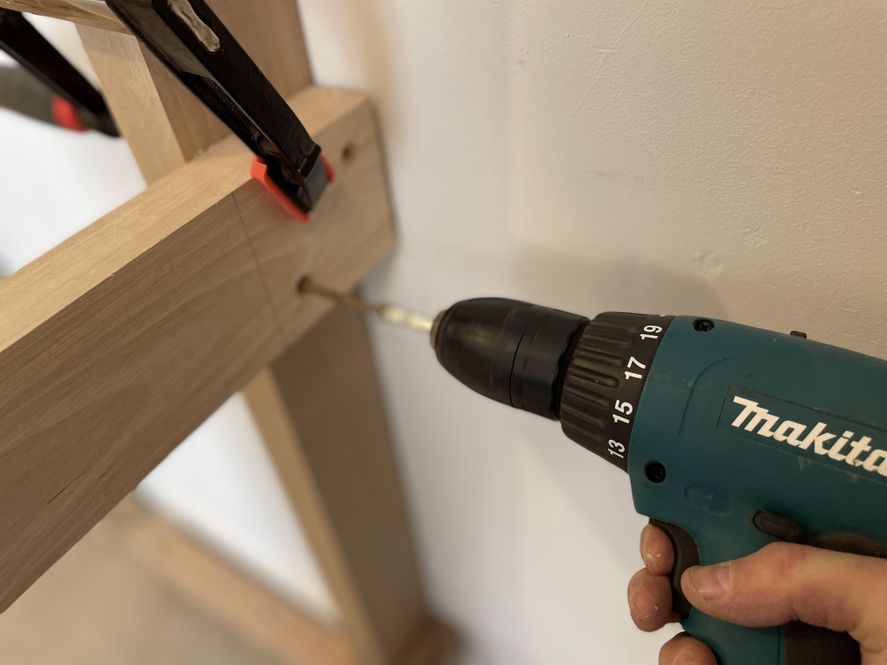
The base frame forms the skeleton of your workbench, so precision here is paramount. Begin by cutting your 4x4 posts to the desired leg height, accounting for the thickness of your worktop surface. Cut the 2x4 stretchers that will connect the legs at both the top and bottom levels.
Assemble the front frame first by attaching the horizontal stretchers to two legs using wood glue and screws. Repeat for the back frame. Ensure both assemblies are identical in dimensions and perfectly square using your carpenter's square. Connect the front and back frames with side stretchers to complete the rectangular base structure.
Step 2: Adding Cross Supports
Additional cross supports dramatically increase the load-bearing capacity of your workbench. Install 2x4 cross braces between the front and rear top stretchers, spacing them evenly to distribute weight across the entire worktop surface. These supports prevent sagging when heavy items rest on the bench.
For the lower shelf area, add similar cross supports at the bottom stretcher level. These will support the shelf material and provide lateral stability to the entire structure. Diagonal bracing on the back panel adds further rigidity if your workbench will endure significant lateral forces.
Step 3: Installing the Worktop Surface
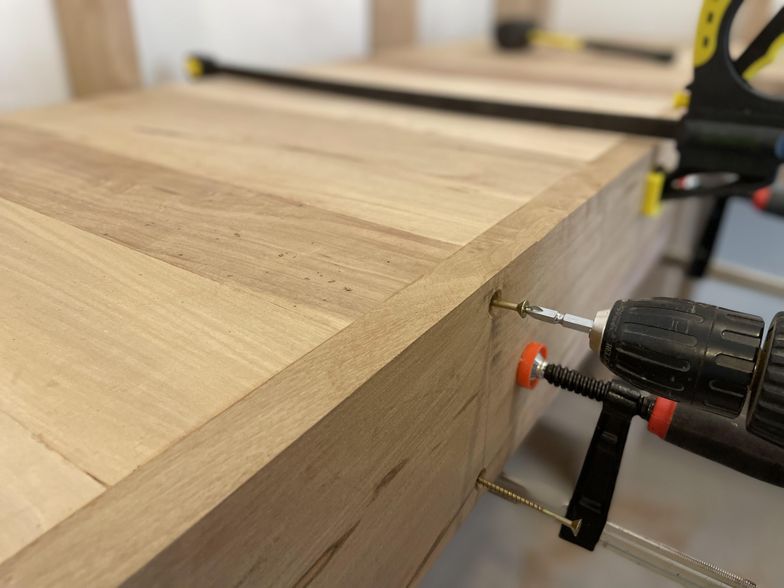
The worktop takes considerable abuse, so material selection matters greatly. Three-quarter-inch plywood offers an excellent balance of durability and cost-effectiveness. For a more heavy-duty surface, consider laminating two sheets together or using a solid wood butcher block top.
Cut your worktop material to size, allowing a slight overhang on the front edge if desired for clamping workpieces. Sand the surface thoroughly, progressing through increasingly fine grits until smooth. Attach the worktop to the frame using screws driven from underneath through the top stretchers, creating a clean upper surface free of visible fasteners.
Step 4: Building the Bottom Shelf
The lower shelf provides valuable storage for bulky items, power tools, and materials awaiting use. Measure the interior dimensions between the legs at the lower stretcher level, then cut your shelf material accordingly. Half-inch plywood works adequately for the shelf since it bears less load than the worktop.
Rest the shelf on the lower stretchers and secure it with screws. Some builders prefer leaving the shelf removable for flexibility, while others appreciate the added structural rigidity of a permanently attached shelf. Consider your storage needs and future flexibility when making this decision.
Step 5: Constructing the Storage Cabinet
The integrated cabinet keeps tools, supplies, and hardware organized and protected from dust. Determine the cabinet dimensions based on your available space—typically occupying one end of the workbench under the worktop surface. Cut the cabinet sides, top, bottom, and back panel from plywood.
Assemble the cabinet box using glue and screws, ensuring all corners remain square throughout assembly. Install an interior shelf at a height suitable for your storage items. The cabinet can attach directly to the workbench frame, utilizing the leg structure for additional support.

Step 6: Installing the Cabinet Door
Cut the cabinet door slightly smaller than the opening to allow for smooth operation. Sand all edges to prevent binding. Choose hinges appropriate for your door weight—European-style concealed hinges offer a clean appearance and easy adjustment, while traditional butt hinges provide simplicity and reliability.
Mount the hinges to the door first, then attach the assembly to the cabinet frame. Test the door swing and adjust as needed. Install a handle or knob at a comfortable height, and consider adding a magnetic catch to keep the door securely closed during work activities.
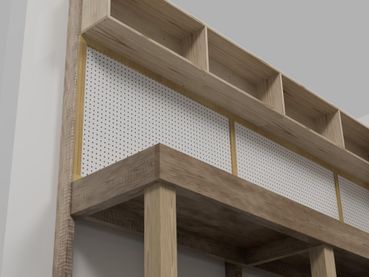
Step 7: Installing the Pegboard
The pegboard transforms dead wall space into functional tool storage visible at a glance. Construct a simple frame from 2x4 lumber that attaches to the back edge of your workbench and extends upward to your desired height. This frame supports the pegboard while providing the necessary standoff from the wall for hooks.
Cut the pegboard panel to fit within your frame, then secure it with screws through the frame edges. Ensure the pegboard mounts with adequate clearance behind it—at least three-quarters of an inch—so hooks can insert properly. Some builders prefer to paint the pegboard a contrasting color before installation for visual appeal.
Step 8: Sanding and Finishing
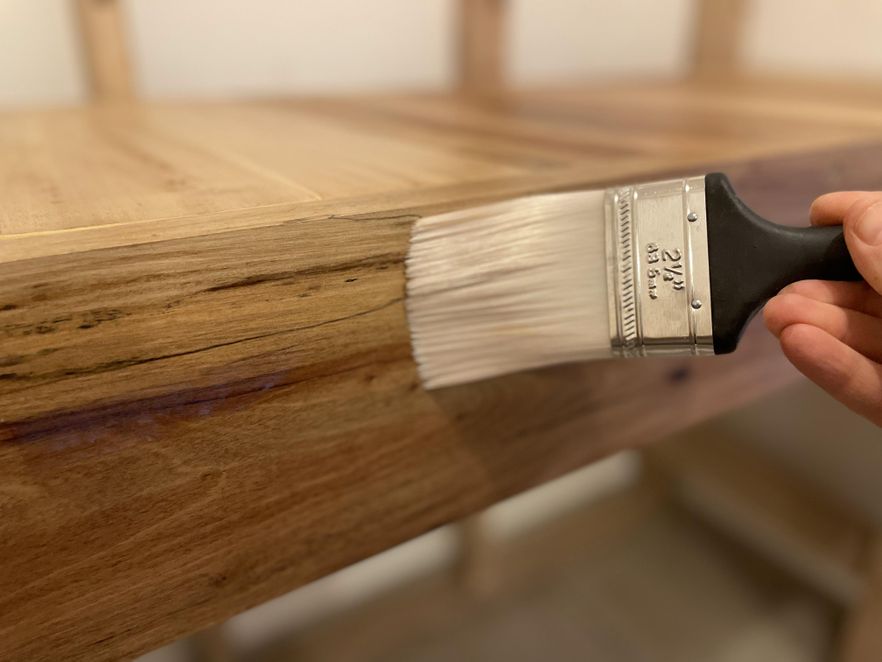
Proper finishing protects your investment and enhances the workbench's appearance. Sand all exposed surfaces starting with 80-grit paper to remove rough spots and tool marks, then progress through 120-grit and finish with 220-grit for a smooth surface. Pay special attention to the worktop, which will see the most contact.
Apply your chosen finish according to manufacturer directions. Oil-based polyurethane provides excellent durability for workshop environments, though water-based alternatives offer faster drying times and easier cleanup. Multiple coats with light sanding between each ensures maximum protection and a professional appearance.
Pro Tips for Best Results
Height Customization: Measure from the floor to your wrist when standing with arms relaxed at your sides. This measurement indicates your optimal work surface height for tasks performed while standing.
Leveling: Garage floors often slope toward drains. Use adjustable feet or shims under the legs to ensure a perfectly level work surface regardless of floor conditions.
Electrical Integration: Consider adding a power strip or outlet box to your workbench for convenient tool access. Route wiring safely along the frame, away from pinch points.
Lighting: Mount task lighting on the pegboard frame or above the worktop for shadow-free illumination during detailed work.
The Finished Workbench
Upon completion, you'll possess a workshop centerpiece that rivals commercial alternatives at a fraction of the cost. The integrated pegboard keeps your most-used tools within arm's reach, while the cabinet secures valuable items and the lower shelf handles bulk storage duties admirably.
This workbench will faithfully serve through countless projects, from simple repairs to complex builds. Its solid construction means you can work confidently without worrying about wobbling, flexing, or collapsing under heavy loads. And should your needs evolve, the modular design allows for future modifications and additions.
Take pride in your accomplishment—you've built more than just furniture. You've created a foundation for future creativity and craftsmanship that will enhance every project you undertake in your garage workshop.
Looking for a Ready-Made Solution?
If you prefer a professional-grade storage workbench without the build time, explore our premium 10-foot storage cabinet featuring 40 drawers and 2 cabinets for ultimate organization.
10' Storage Cabinet – 40 Drawers