
Tools & Preparation: What You Need Before Setup
Rushing the setup without the right items on hand leads to frustration. Take two minutes before you begin to gather everything listed below. A little preparation goes a long way.
Before You Start: Surface Check
The best surfaces for pickleball are smooth, flat, and non-slip. Ideal options include:
- Asphalt or concrete driveways
- Dedicated sport court tiles
- Hardwood gym flooring (indoors)
- Well-packed grass (for portable net setups)
Avoid uneven terrain or loose gravel. These surfaces can make posts unstable and compromise the integrity of net height — which affects official play.
Step-by-Step: How to Set Up a Pickleball Net in Under 10 Minutes
Unpack and Inventory All Parts
Before touching a single piece, lay everything out on the ground. Match each component to your manual's parts list. Missing a pin or strap at this stage means catching it now — not halfway through assembly. Most quality nets include: two upright posts, a center crossbar, tension strap, net mesh, and base feet or anchors.
Position the Base Feet
Set your two base feet exactly 22 feet apart on center. This is the official width for a standard pickleball court. For portable rolling nets, simply wheel them into position. For semi-permanent systems, confirm alignment before locking down anchors. Use tape or chalk to mark your placement points on the surface if needed.
Assemble and Insert the Upright Posts
Slide each upright post into its base and lock it into place using the included locking pin or twist mechanism. Make sure the posts are plumb — a leaning post throws off net height and looks sloppy. On most systems, this is a one-click or quarter-turn process. Don't overtighten; just secure.
Attach the Crossbar and Drape the Net
Connect the horizontal crossbar between both posts according to your model's instructions. Once the crossbar is locked, drape your net mesh over it and secure the top to the bar. Make sure the net hangs evenly without bunching or twisting. Most nets attach at the top with velcro, hooks, or clips.
Adjust Net Height and Tension (Critical Step)
Official pickleball net height is 36 inches at the sideline posts and 34 inches at the center. Use your measuring tape to verify both measurements. Tighten the center tension strap until the net sags correctly to 34 inches at center. This slight sag is intentional — it's part of the official rules and affects bounce and playability significantly.
Final Check: Secure and Test Stability
Give both posts a firm push-and-pull test. A stable net should not wobble or shift. If you're outdoors, apply ground anchors or add weight bags to the base feet. Walk along both sides and make sure the net is taut, even, and properly tensioned from post to post. You're ready to play.
Common Pickleball Net Mistakes & How to Fix Them
Even with a straightforward setup process, certain issues come up again and again. Here's how to identify them and correct them fast.
⚠️ Net Too Loose or Sagging Too Much
If your net droops well below 34 inches at center, your tension strap needs tightening. Re-measure after every adjustment. Loose nets make balls behave unpredictably at the kitchen line.
⚠️ Posts Leaning Inward or Outward
This usually means the base feet aren't positioned exactly 22 feet apart. Measure again from the inside edge of each post and readjust your base placement. Always confirm before inserting uprights.
⚠️ Net Height Uneven Side to Side
One post may be sitting on higher ground or assembled incorrectly. Use a level app on your phone to check upright plumb. Shim the lower side base if needed or find a flatter surface location.
⚠️ Net Moving During Play
Without anchoring, portable bases shift during intense rallies. Add rubber-grip base pads, ground stakes, or weighted sandbags to each base foot to keep your setup locked in place throughout the game.
⚠️ Crossbar Connections Keep Loosening
Some crossbar connections can vibrate loose over time. A small piece of thread tape (plumber's tape) around threaded connections creates friction that holds tighter without damaging components.
⚠️ Net Bunching at the Bottom
The bottom of the net should lie flat against the ground. If it bunches, re-tension the bottom strap if present, or check that the net is centered properly on the crossbar and posts before tensioning.
Quick Tips for Faster, Cleaner Pickleball Net Setup
Mark Your Court
Pre-mark your base foot positions with chalk or a permanent tape spot if you play on the same surface regularly. Setup drops from 10 minutes to 3.
Anchor for Wind
Even light wind can shift an unanchored portable net during play. Always stake or weight your base feet for outdoor sessions, no matter how calm it feels at setup.
Measure Every Time
Don't skip the height check — not even for casual play. Incorrect net height creates bad habits in your game and changes the physics of every shot near the net.
Rotate Your Net
If your net develops a permanent sag or stretch, flip it end for end or top to bottom. Most nets are reversible and this simple move extends lifespan significantly.
Clean Before Storing
Wipe down posts and dry the net mesh before folding it away. Moisture stored in mesh leads to mildew, while dirt on metal parts accelerates corrosion over time.
Store Parts Together
Keep all net components in one dedicated bag or box. Nothing slows down game day more than hunting for a missing locking pin or tension strap before you can even begin.
Frequently Asked Questions About Pickleball Net Setup
Ready to Play? Start With the Right Net.
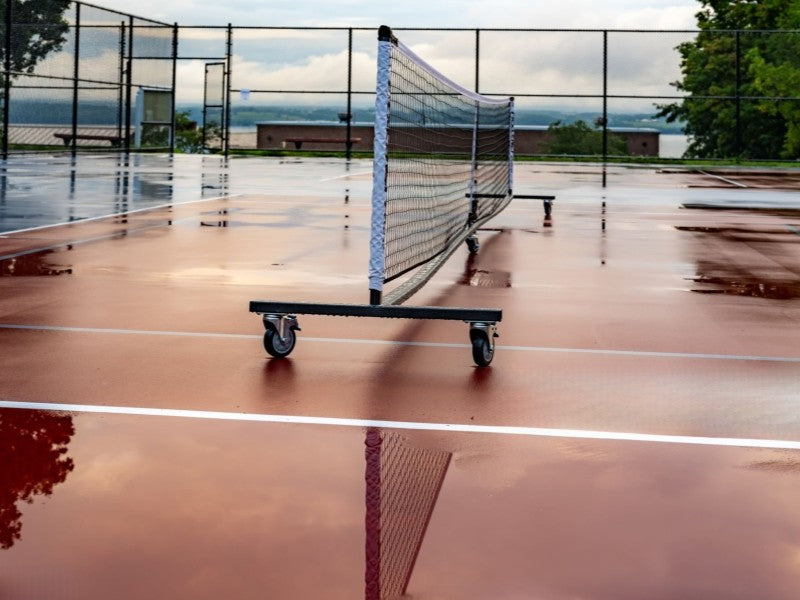
The Dominator Pro Max is built for players who want professional stability without the permanence. Rolls into position, locks down in seconds, and meets official height specifications out of the box.
Dominator Pro Max Net