
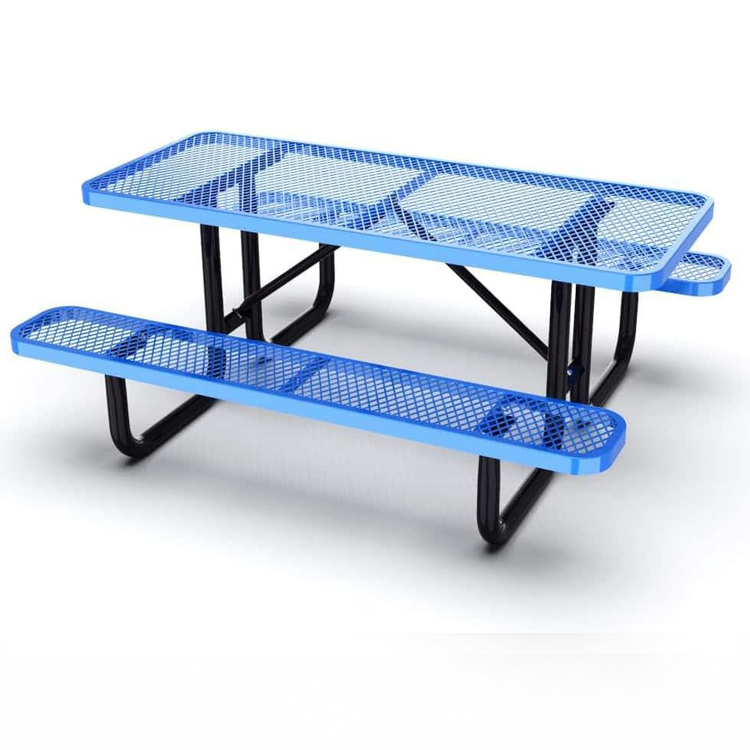
This commercial-grade picnic table frame kit gives you everything you need to build a sturdy, long-lasting 6-foot or 8-foot outdoor picnic table. The kit includes the complete steel frame and all necessary hardware — simply source your own lumber locally and save significantly on shipping costs. It is an ideal solution for RV parks, campgrounds, public recreation areas, churches, schools, and commercial outdoor spaces.
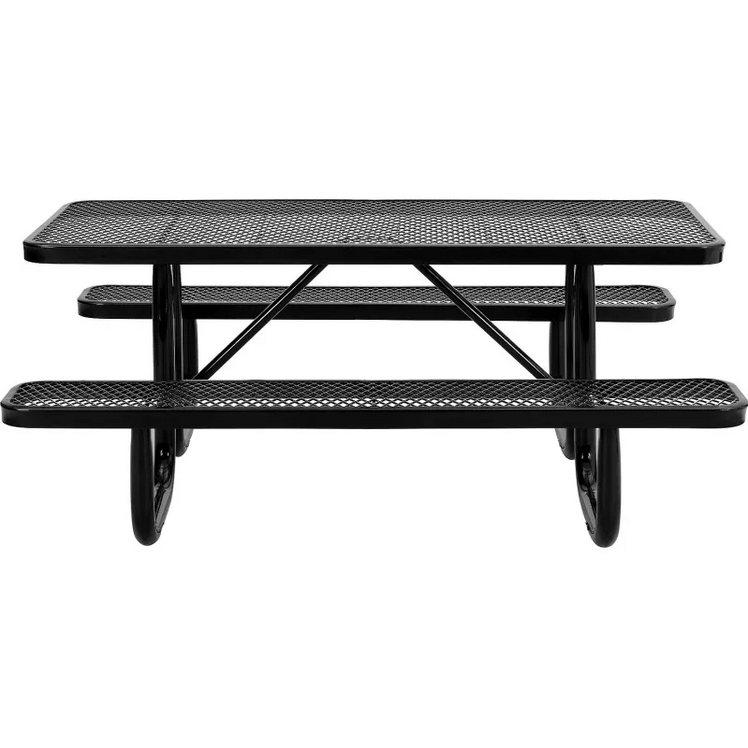
Designed with a non-tip, walk-through base, this frame ensures stability and safety in high-traffic environments. The one-piece galvanized or powder-coated frame is continuously MIG-welded for exceptional structural integrity, meaning it will hold up to years of heavy commercial use without bending, warping, or rusting.
Technical Specifications
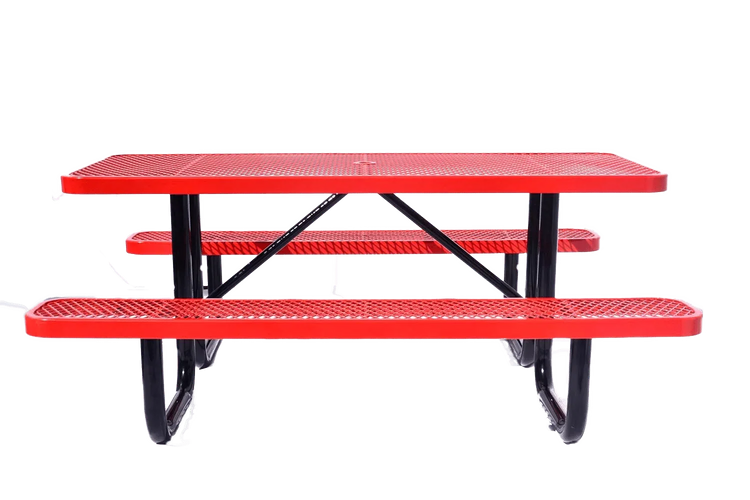
The frame uses 1-5/8 inch x .083 inch wall tube pipe that is hot-dipped galvanized or powder-coated. All pipe and tubing conforms to ASTM A513-94, and every steel component meets ASTM A569 standards. Cross braces are constructed from 1-inch schedule 40 pipe with .133-inch thick walls. Center brackets are made from 1/8-inch thick (12-gauge) steel, and the same gauge applies to all table and seat brackets. Sheet steel conforms to ASTM-1011.
Assembly hardware consists of 3/8-inch diameter galvanized steel carriage bolts — all included in the kit. The entire frame can be put together with just a 9/16-inch socket wrench.
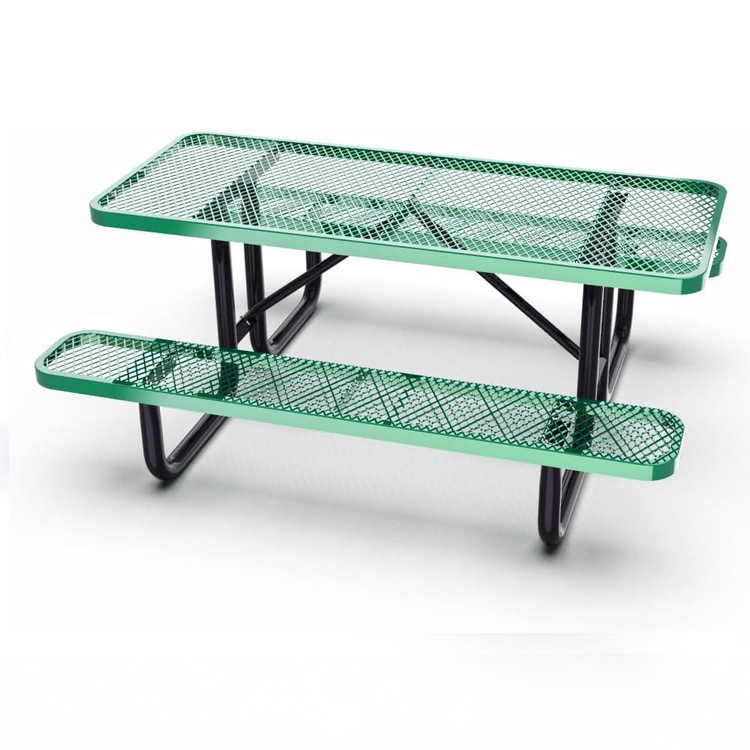
Lumber required (not included): Five 2" x 10" x 8' wood boards — three for the tabletop and one for each bench. Available at your local hardware store.\
★ Proudly Manufactured in the U.S.A. — Supporting American Jobs ★
Please allow 2–4 weeks for manufacturing lead time.
Assembly Instructions
Commercial Outdoor Picnic Table — Galvanized Frame Kit
Drill Boards & Place Carriage Bolts
You will receive hole-drilling schematic pages for both the bench boards and the tabletop boards. After completing all drilling, position the 3/8"-16 x 2-1/4" carriage bolts through the pre-drilled table top boards. Lay the boards and bolts face-down with the tabletop against the ground (see Figure 1 below). A helpful tip: use a small piece of tape on the bolt head to hold it steady while you set each board in position.
Attach Frame Uprights
Position the frame uprights over the frame attachment bolts. Secure each one finger-tight using a single 3/8" lockwasher and 3/8" nut per bolt. Repeat for every upright required — typically two uprights for 6-foot and 8-foot tables, and three uprights for 10-foot and 12-foot models. For the outboard uprights, make sure the flange faces toward the end of the table boards (see Figure 2). On 10-foot and 12-foot tables, the center upright may be oriented with the flange facing either end.
Install Cross Brace Center Brackets
Insert two 3/8"-16 x 1" carriage bolts through the outer rectangular slots of the cross brace center bracket as illustrated in Figure 3. If you need handicapped-accessible seating, place a single 3/8"-16 x 1" bolt through the rectangular slot of the handicapped bracket (see Figure 4). Fasten the brackets to the tabletop by sliding them over the attachment bolt, and tighten finger-tight with one 3/8" lockwasher and one 3/8" nut per bolt.
Secure the Cross Braces
Connect the cross brace to the bolt in the center bracket using one 3/8" lockwasher and one 3/8" nut (refer back to Figure 3). On the opposite end, fasten the cross brace to the frame angle using one 3/8"-16 x 1" carriage bolt, one 3/8" lockwasher, and one 3/8" nut, as shown in Figure 5. Repeat this process for each cross brace your kit requires.
Note: 10-foot and 12-foot picnic table frames include one cross brace that is shorter and features bent flanges on one end (12-foot frames) or both ends (10-foot frames). This shorter brace must be connected to an inner frame upright, as depicted in Figure 8.
Attach the Seat Boards
Mount the two seat boards onto the frame upright seat brackets. Line up the pre-drilled holes in each seat board with the corresponding holes in the seat bracket, then fasten with four 3/8"-16 x 2-1/4" carriage bolts, four 3/8" lockwashers, and four 3/8" nuts per board. See Figure 9 for reference.
Tighten All Hardware
Go back over every connection point and fully tighten each nut. Continue tightening until the bolt head begins to compress slightly into the wood. We recommend using a 9/16" socket for this step.
⚠ WARNING: Do not over-tighten the carriage bolts. Excessive force may cause the wood to splinter or split.
Flip the Table Upright
Carefully turn the fully assembled picnic table right-side up. Your table is now ready for years of dependable outdoor use.
⚠ WARNING: Assembled picnic tables are extremely heavy. Always use at least two people when flipping the table. Turning it over carelessly may cause serious injury. Exercise extreme caution.
Ready to Build Your Commercial Picnic Table?
Order the Pilot Rock steel frame kit today and get started.
Pilot Rock Picnic Table Frame Kit