
Installing a ductless mini split can feel like a big undertaking, but having the right knowledge and a clear plan makes the process far more approachable. This guide breaks down the core components of a mini split system, walks through realistic difficulty levels, outlines the full installation process, and covers essential safety practices to help you succeed.
Understanding the Basics of a Mini Split
What Is a Mini Split?
A mini split — sometimes called a ductless system — is a heating and cooling solution that delivers climate control directly to individual rooms or zones. Unlike central HVAC setups, mini splits require no ductwork, making them an excellent retrofit option for older homes, room additions, or spaces where traditional duct runs are impractical.
Their rising popularity comes from their energy efficiency and flexible zoning. Homeowners can set independent temperatures in different areas of the home, reducing energy waste in unused spaces — an especially valuable benefit for multi-story or irregularly shaped properties.
Key Components of a Mini Split
Understanding each part helps you anticipate the installation steps and avoid costly mistakes:
Outdoor Unit
Houses the compressor, condenser, and expansion coil. Releases or absorbs heat from the outside air.
Indoor Unit
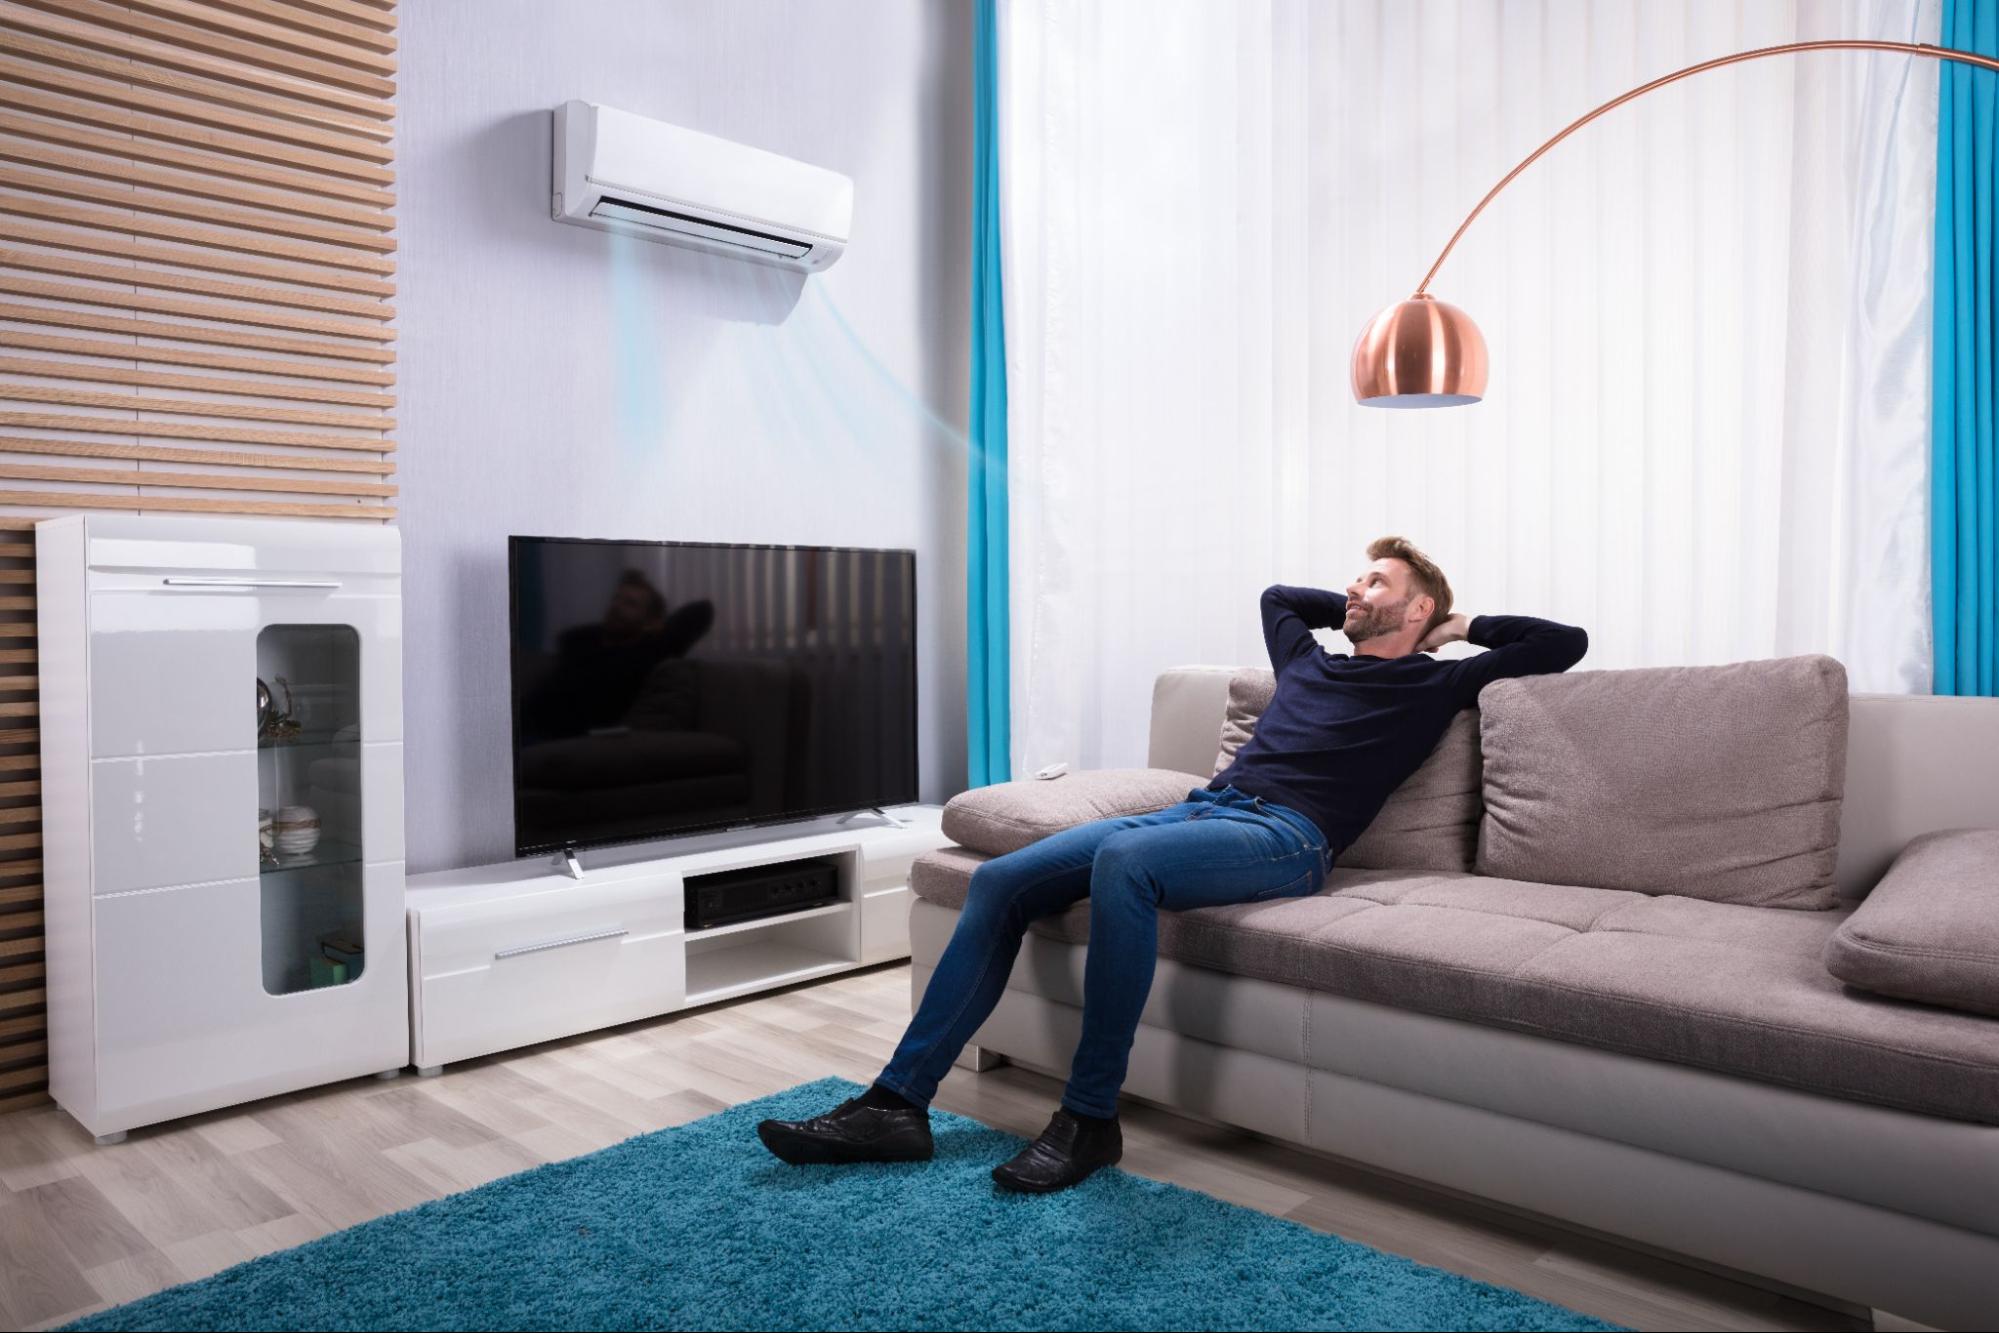
Mounts on an interior wall and distributes conditioned air directly into the living space.
Refrigerant Lines
Copper tubing that carries refrigerant between indoor and outdoor units, forming the heat exchange loop.
Electrical Wiring
Dedicated electrical connections power both units and must meet local code requirements.
Condensate Drain
Removes moisture extracted from the air during cooling. Proper drainage prevents water damage and mold.
Assessing the Difficulty Level
The complexity of a mini split installation varies considerably depending on your home's layout, your technical background, and local code requirements. Before committing to a DIY approach, it's worth honestly evaluating the factors below.
Factors That Influence Difficulty
Positioning both indoor and outdoor units is the first major challenge. The indoor unit must be in a location that allows unrestricted airflow, while the outdoor unit needs adequate clearance, stable mounting, and easy access for future maintenance. Electrical connections must comply with local codes, and the routing of refrigerant lines adds another layer of complexity depending on wall thickness and building construction.
Prior hands-on experience with HVAC, electrical work, or home improvement projects can dramatically reduce the difficulty of a mini split installation. First-timers should budget significantly more time and consider consulting a professional for at least the refrigerant and electrical portions.
Common Challenges
Selecting the correct unit size is one of the most frequent missteps. An undersized system will run continuously without achieving target temperatures; an oversized one will short-cycle, causing humidity problems and premature wear. Refrigerant handling requires EPA certification in many regions and demands careful attention to avoid pressure leaks or electrical hazards. Improper condensate drainage is another common issue that can cause water damage over time if overlooked during installation.
The Installation Process Step by Step
A standard mini split installation follows a logical sequence. Skipping or rushing any stage can compromise system performance and safety.

- Calculate Load Requirements Determine your room's heating and cooling needs based on square footage, insulation quality, ceiling height, and climate zone. This ensures you select the correct BTU capacity.
- Plan Unit Placement Choose the optimal position for both indoor and outdoor units. The indoor unit should be high on an interior wall, away from direct sunlight and obstructions. The outdoor unit needs a firm, level surface with at least two feet of clearance on all sides.
- Check Permits and Regulations Verify whether a permit is required in your municipality. Compliance with local electrical and mechanical codes is essential to avoid fines and insurance issues.
- Mount the Indoor Unit Secure the mounting plate to wall studs. Drill a passage hole at a slight downward angle through the exterior wall to route refrigerant lines, electrical wiring, and the condensate drain.
- Connect the Refrigerant Lines Route insulated copper tubing between units according to the manufacturer's specifications. Flare connections must be precise to prevent leaks.
- Install the Outdoor Unit Place the outdoor unit on its pad or wall bracket and connect the refrigerant lines, electrical supply, and communication cables. Ensure the unit is perfectly level.
- Commission and Test Evacuate the refrigerant lines with a vacuum pump, then release refrigerant charge per manufacturer instructions. Power on the system, test all modes, and verify there are no leaks or error codes.
DIY vs. Professional Installation
Many homeowners successfully install mini splits themselves, particularly with pre-charged "DIY-friendly" units. However, it's important to realistically assess your skill level before deciding which route to take.
✦ DIY Advantages
- Lower upfront cost
- Flexible scheduling on your terms
- Builds hands-on HVAC knowledge
- Satisfaction of completing the project
⚑ DIY Considerations
- Refrigerant work may require certification
- Mistakes can void manufacturer warranty
- Time-intensive for first-timers
- Electrical missteps create safety risks
For complex installations — multiple zones, concealed ducting, advanced refrigerant types, or homes with challenging wall construction — professional installation is strongly recommended. A licensed HVAC technician ensures warranty compliance, code adherence, and optimal system performance from day one.
Ready to Upgrade Your Home Comfort?
The Senville AURA 18,000 BTU Concealed Duct Mini Split delivers powerful, whisper-quiet performance — perfect for whole-home zoning without visible wall units.
Senville AURA 18K BTU Mini SplitSafety Measures During Installation
Essential Safety Tips
- Always disconnect power at the breaker panel before working on any electrical component.
- Use proper lifting techniques and get assistance when handling outdoor units — they are heavy and awkward to maneuver solo.
- Follow all local electrical codes and use properly rated wire gauges for the system's amperage requirements.
- Keep refrigerant lines protected from sharp bends, kinks, or physical damage that could cause micro-leaks.
- Wear safety glasses and gloves when drilling through walls or handling copper refrigerant lines.
- Ensure adequate ventilation in the work area when purging lines or handling refrigerant.
Avoiding Common Mistakes
Always maintain adequate clearance around both units for airflow and future servicing. Store refrigerant carefully and never release it into the atmosphere — illegal in most regions and damaging to the environment. Ensure the condensate drain slopes away from the building to prevent moisture buildup and structural damage over time.
When in Doubt, Call a Professional
If at any point during the installation you feel uncertain about an electrical connection, a refrigerant charge, or a structural mounting point, stop and consult a licensed HVAC professional. The cost of a service call is far less than the cost of repairing damage caused by an incorrect installation.
The Bottom Line
Installing a mini split is entirely achievable with the right preparation, the right tools, and a careful approach to each step. Understanding your system's components, sizing it correctly, and following safe installation practices are the foundations of a successful outcome. Whether you go the DIY route or bring in a professional, starting with a quality unit makes all the difference. Use the manufacturer's guidelines as your primary reference and don't hesitate to seek expert support for any step that exceeds your comfort level.