
fter a long, tiring day, the last thing you want is to reach for the remote and be greeted by stale, musty air. That's exactly why keeping your mini split clean isn't optional — it's essential. This guide covers everything you need to know, from quick filter rinses to tackling the outdoor unit, so you can do it yourself with confidence.
Why Cleaning Your Mini Split Matters
Like any appliance, mini splits accumulate dust, pet dander, pollen, and moisture over time. Left unchecked, this buildup forces the system to work harder — driving up your energy bill, reducing cooling efficiency, and shortening the lifespan of your unit. Dirty coils and clogged filters can even lead to costly mechanical failures down the line.

Beyond equipment health, a dirty mini split directly impacts your indoor air quality. Mold, allergens, and bacteria can circulate through a neglected unit, worsening respiratory conditions and triggering allergies. Regular maintenance is one of the simplest ways to protect both your investment and your household.
The Benefits of a Clean Unit
Lower Energy Bills
Clean components allow your system to run efficiently without overworking itself.
Consistent Cooling
Better airflow means steady, reliable temperature control in every season.
Fewer Breakdowns
Routine cleaning helps catch small issues before they become expensive repairs.
Cleaner Air
Reduce allergens, mold spores, and unpleasant odors circulating through your home.
Before You Start: Essential Preparations
A safe and effective cleaning job starts with the right preparation. Before touching any part of your mini split, run through these steps:
- Always switch off power to the unit at the breaker to eliminate any risk of electrical shock.
- Place a tarp or plastic sheet under the indoor unit to catch drips and debris — your floors will thank you.
- Gather your supplies: a soft cleaning cloth, a fin comb, coil cleaner spray, antifungal spray, a soft brush, microfiber cloths, and a drain cleaning tool.
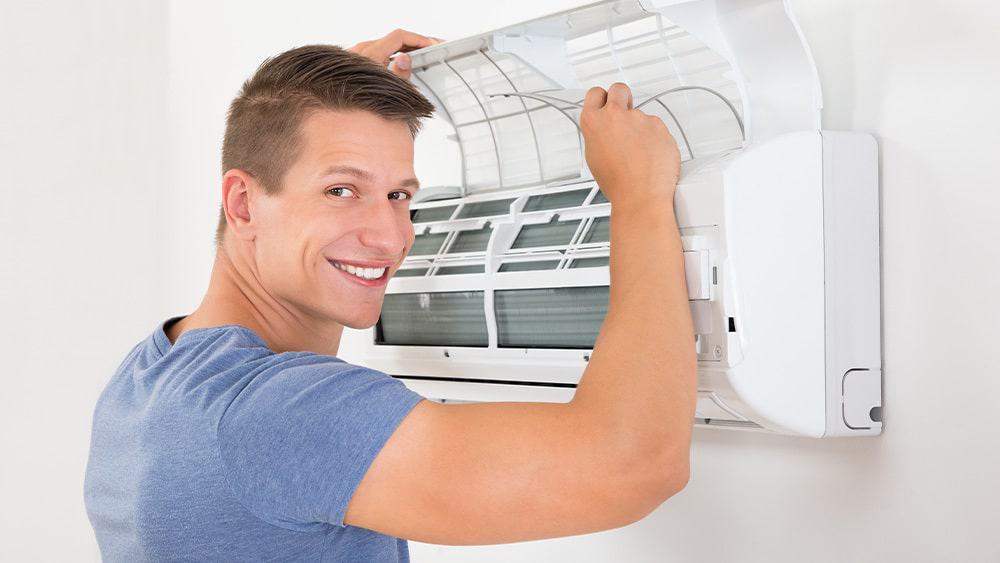
Cleaning the Indoor & Outdoor Units
🏠 Indoor Unit
- Wipe down the exterior casing with a damp cloth, then dry it thoroughly.
- Remove the air filters under the front panel. Clean or replace them based on condition.
- Clean the evaporator coil using a coil cleaner or soft cloth — be gentle with the delicate fins.
- Check the condensate pan and drain for standing water or debris. Clear any blockages.
- Let all parts dry completely before reassembling, then secure the cabinet.
🌿 Outdoor Unit
- Clear away any grass, leaves, or dirt surrounding the outdoor unit.
- Spray the exterior casing with a mini split coil cleaner and wipe off grime with a damp cloth.
- Brush the fan blades gently using a soft brush with mild soapy water. Rinse the blades to prevent rust buildup.
- Use a garden hose on low pressure to rinse remaining residue from the unit exterior.
- Inspect the condenser pan and drain lines. Use a bleach solution if mold growth is detected.
How Often Should You Clean the Filters?
Frequency depends on how much you use your system. As a general rule, clean your mini split filters every 2–4 weeks during heavy use seasons. In periods of lighter use, a cleaning every 1–2 months is usually sufficient.
🌿 Special Circumstances
If you live near a busy road, own pets, or suffer from allergies, you'll want to clean filters more frequently than average. Heavy dust environments such as construction zones or agricultural areas may require weekly checks. Staying proactive means fewer problems down the road.
When to Call a Professional
While the steps above cover the essentials of DIY cleaning, there are situations where professional service is worth every penny. Deep cleaning requires specialized tools and trained technicians who can access internal components safely and thoroughly — far beyond what a homeowner can do with household supplies.
Professionals can also perform a full diagnostic during a service visit, catching refrigerant leaks, electrical faults, or worn components before they cause a complete system failure. Scheduling an annual professional service alongside your own routine maintenance is the best way to maximize the lifespan and reliability of your investment.

Frequently Asked Questions
How do I know when my mini split needs cleaning?
Watch for reduced airflow, unusual odors, increased energy bills, or strange noises. These are all early warning signs that your unit is overdue for a clean. Don't wait until performance drops significantly — address them as soon as you notice.
What's the proper way to vacuum a mini split?
Start by powering off the unit completely. Then remove the front panel to access the filters. Use a soft-brush attachment on your vacuum to gently remove dust from filters and interior components. Carefully work around the coils and surrounding parts to avoid bending or damaging anything.
What if my mini split stops cooling properly?
Check the filters first — blocked airflow is the most common culprit. If they're clean, review your thermostat settings and make sure the outdoor unit has adequate clearance for airflow. Inspect for refrigerant leaks, and if the issue persists after basic checks, contact a licensed HVAC technician for a professional diagnosis.