
A step-by-step guide to constructing a sturdy, weatherproof pitching mound that will last for years of backyard practice.
Every serious pitcher deserves a proper mound to practice on, and building your own is easier than you might think. This project uses treated lumber, plywood, and artificial turf to create a durable, regulation-feel surface right in your backyard. The goal is a solid, fixed mound — built to stay put, weather the seasons, and deliver quality reps every time you step on the rubber. With a few weekends of work and some basic tools, you'll have a pitching mound that rivals anything you'd find at your local field.
What You'll Need
Step-by-Step Build Guide
Building the Base
The foundation of your mound starts with four 1"×10"×10' pine boards. These form the lower frame — referred to here as the upper base — measuring 20" deep and 4" wide. To create the slope, mark each pine board at 20" from one end and draw a straight line down to 2" at the other end. Cut along that line to produce the gradual rise that gives your mound its shape. This angled cut is what makes or breaks the feel underfoot, so take your time to get it right before moving on.
Once the frame is assembled, it's time to lock everything in place. Using scrap pieces of lumber, brace the pine boards generously across the underside of the structure. You might feel like you're going overboard — and you probably are — but that's the point. A pitching mound takes repeated impact from every practice session, and zero movement is the goal. Cross-brace as many points as needed until the frame feels completely rigid. Solid bracing now prevents wobble and warping for years down the line
.
Laying the Top Sheet
With the frame squared up and braced, it's time to add the surface layer. Place your 4×8 sheet of treated plywood on top of the base and secure it using drywall screws spaced evenly across the frame. Before fastening, double-check that the base is perfectly square — a skewed plywood sheet will throw off the entire finished surface. As a vital weatherproofing step, soak all pine boards thoroughly with Thompson's Water Seal before screwing down the plywood. This one step alone adds years to the life of your mound.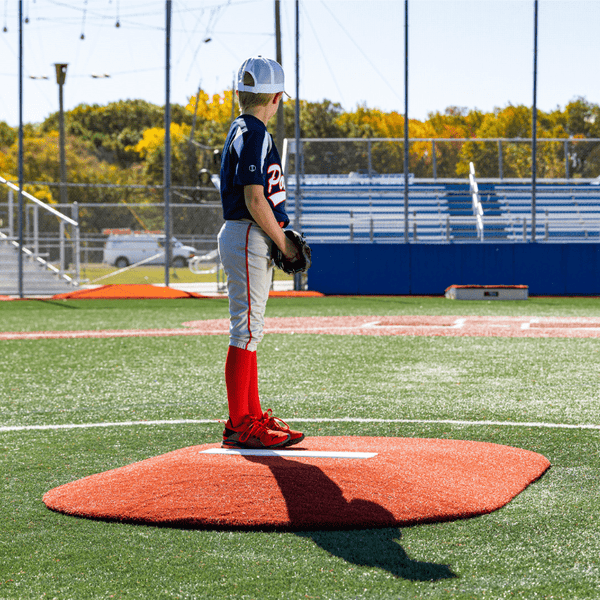
Adding the Turf Surface
The finishing touch that transforms raw lumber into a real pitching mound. Lay a generous piece of high-quality artificial turf over the entire plywood surface, securing it with both carpet adhesive and staples for a tight, wrinkle-free fit. If your turf piece runs a little short — about 12" is common — simply pick up an additional strip from your local home improvement store to fill the gap seamlessly. Once the turf is locked down, center and mount an official pitching rubber on top. The result is a mound that's firm underfoot, forgiving on the joints, and ready for full-intensity throwing sessions.
Since this mound is designed to stay in one place, prioritize weatherproofing over portability. Seal every board before assembly, and consider an annual recoat of water sealant at the start of each season to prevent moisture damage and extend the life of your build significantly.
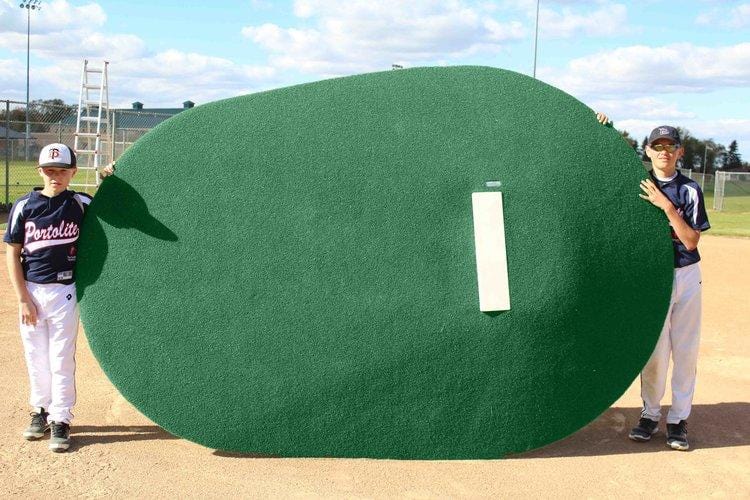
Want the Professional Solution?
Skip the build time and step up to a regulation-grade portable pitching mound. The PortoLite 6" Little League Full Length mound delivers authentic feel, official dimensions, and weather-resistant durability — ready right out of the box.
Whether you build it yourself or invest in a ready-made solution, having a proper pitching mound in your backyard is a game-changer for any developing pitcher. Consistent practice on the right surface builds real mechanics — and that's what turns potential into performance.