
Natural Solutions for a Spotless Kitchen
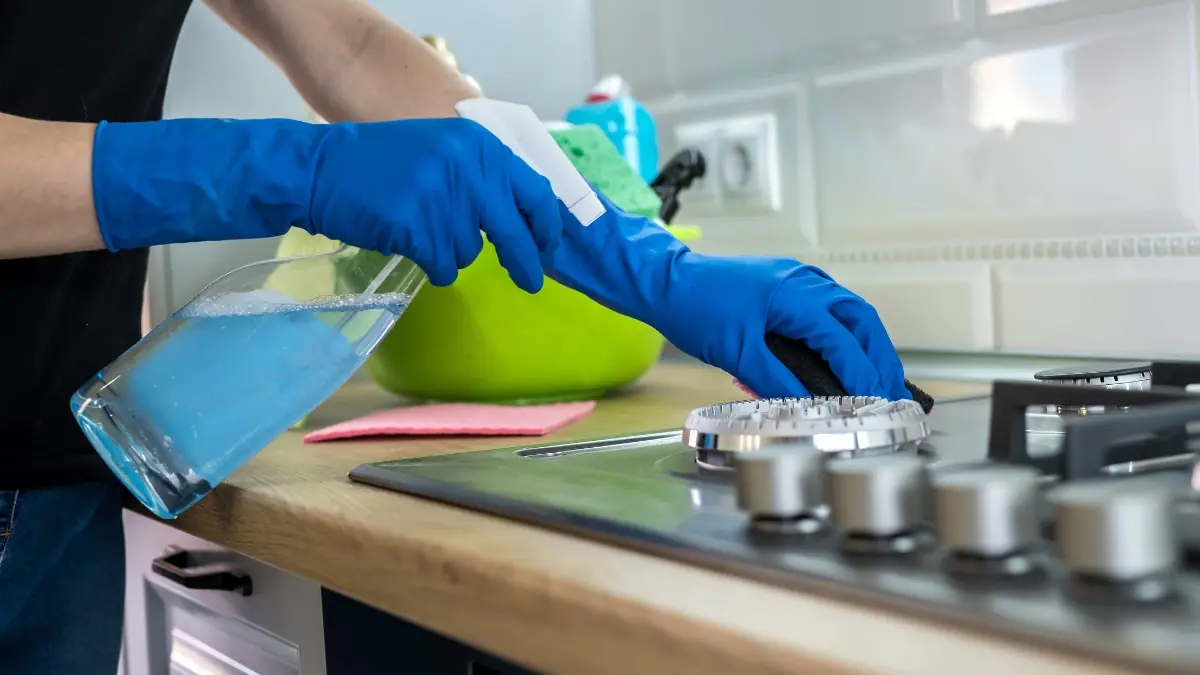
Caring for kitchen appliances is essential for maintaining efficiency and extending their lifespan. When it comes to gas stove burners, you may encounter stubborn grease and food residue that accumulates over time. The best news? You don't need harsh chemical cleaners to restore your burners to pristine condition. With a few ages to gentle methods using natural ingredients, you can keep your stove looking and functioning optimally.
Many homeowners worry about using abrasive chemicals around food preparation areas. Natural cleaning methods aren't just safer for your household—they're also environmentally friendly and surprisingly effective. You don't need to choose between cleanliness and your family's safety when natural alternatives deliver outstanding results without compromising air quality in your kitchen space.
Why Choose Natural Cleaning Methods?
When you opt for chemical-free cleaning methods with straightforward ingredients, you avoid exposing yourself to potentially harmful fumes. Many commercial cleaners might irritate your eyes or skin, contain toxins harmful for your indoor air quality, or leave residue on surfaces where you prepare food. Natural alternatives provide powerful cleaning without these concerns.
Beyond the obvious safety advantages, natural methods are budget-friendly. Ingredients like baking soda, vinegar, and dish soap are staples most households already have. This approach saves money while delivering exceptional results. Plus, you'll avoid contributing harsh chemicals to the environment when disposing of wastewater from your cleaning routine.
Complete Cleaning Process for Gas Stove Burners
Step 1: Disassemble the Components
Begin by removing all burner parts from your gas stove once it has completely cooled. This includes the burner grates, caps, and heads. If some components seem stuck, carefully wiggle them to loosen without forcing. Take your time during disassembly to avoid damaging any pieces. Once removed, examine each component and note areas requiring special attention.
Step 2: Soak in Warm Soapy Water
Fill your sink or a large basin with hot water and add generous squirts of dish soap. Submerge all removable burner components in this solution and let them soak for at least 15-20 minutes. The warm water helps loosen stuck-on grease and food particles while the soap breaks down oils. For heavily soiled pieces, extend the soaking time to 30 minutes or longer. This initial soak significantly reduces the manual scrubbing needed later.
Step 3: Apply Baking Soda Treatment
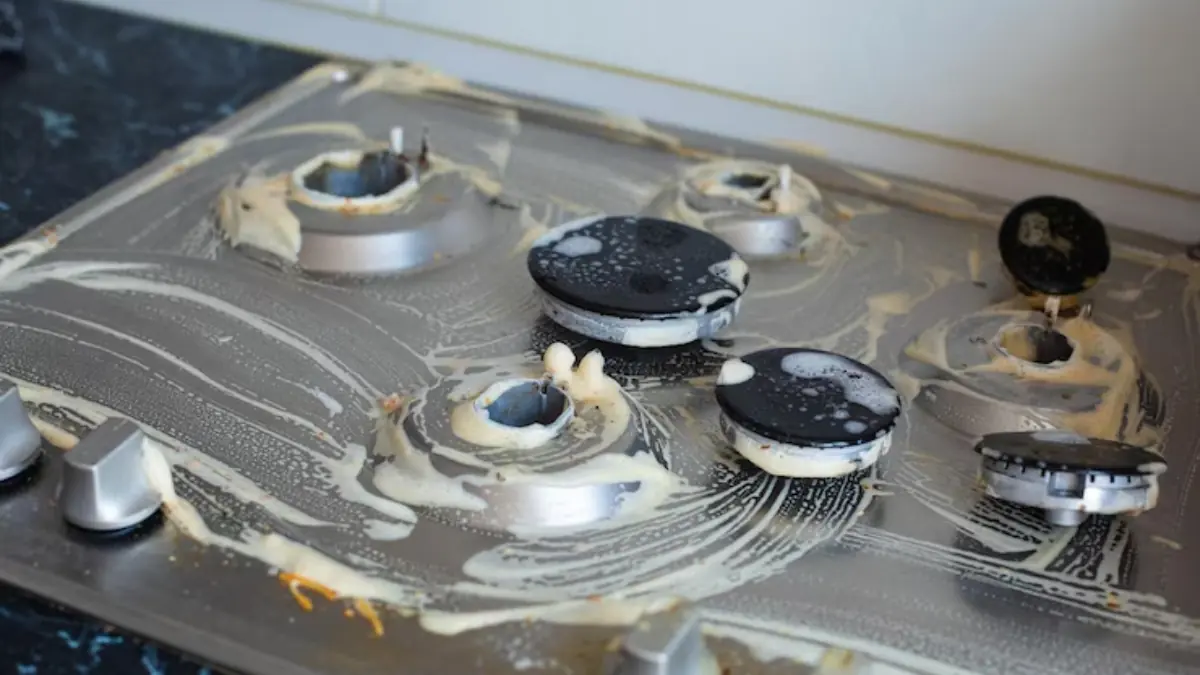
Create a powerful cleaning paste by combining baking soda with water. Mix until you achieve a consistency similar to toothpaste. Apply this mixture generously to stubborn stains and burnt-on residue. Let it sit for 15-20 minutes to penetrate and break down the grime. Baking soda's mild abrasive properties make it perfect for lifting debris without scratching your burner surfaces. For extra tough spots, you can create a slightly thicker paste and let it work longer.
Step 4: Spray with Vinegar
After the baking soda treatment, spray white vinegar over the treated areas. You'll notice immediate fizzing as the vinegar reacts with the baking soda—this chemical reaction helps lift away stubborn grime and grease. The combination of these two natural ingredients creates a powerful cleaning action that rivals commercial products. Allow this mixture to work its magic for several minutes before proceeding to scrub.
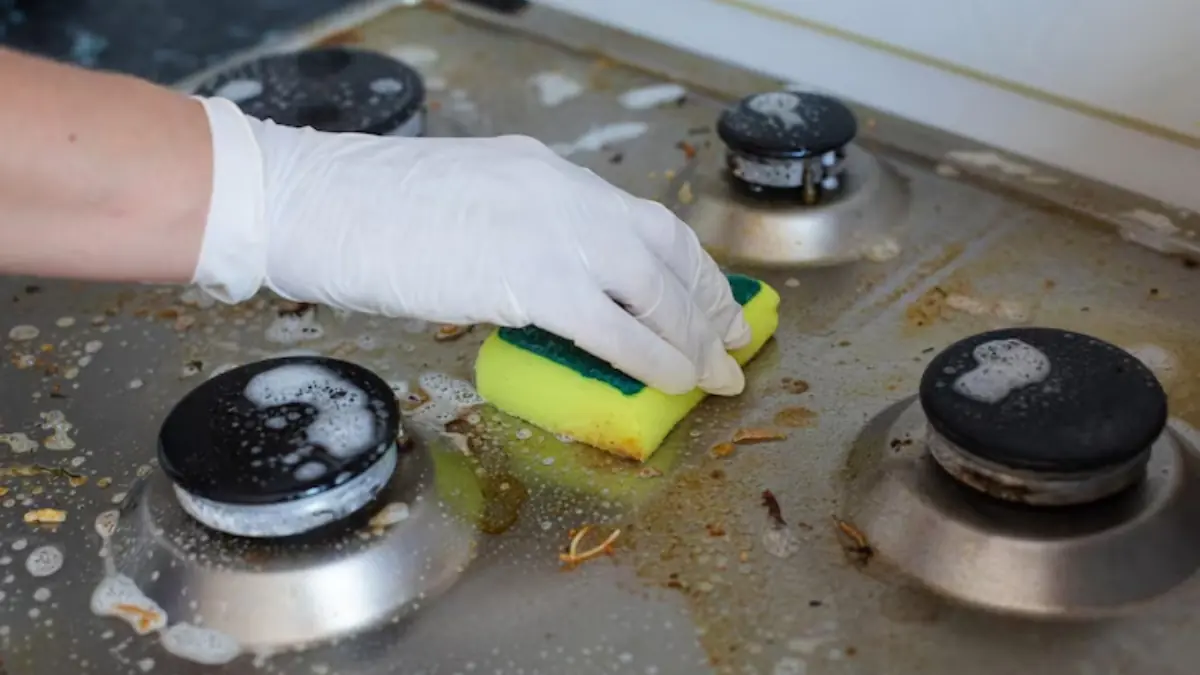
Step 5: Scrub Thoroughly

Using a non-abrasive sponge or soft-bristled brush, gently scrub each burner component. Pay special attention to crevices and ports where gas flows. Work methodically to ensure you address all areas. If you encounter particularly stubborn spots, reapply the baking soda paste and let it sit longer before scrubbing again. You may need to use an old toothbrush for tight spaces and intricate details around burner holes.
Step 6: Rinse and Dry Completely
After scrubbing, thoroughly rinse each piece under warm running water to remove all cleaning residue. Inspect each component to ensure no soap, baking soda, or vinegar remains. Shake off excess water and dry everything completely with a clean towel. This step is crucial—any moisture left in the burner ports can affect performance or prevent proper ignition. Consider letting pieces air dry for an additional 30 minutes to ensure they're completely moisture-free before reassembly.
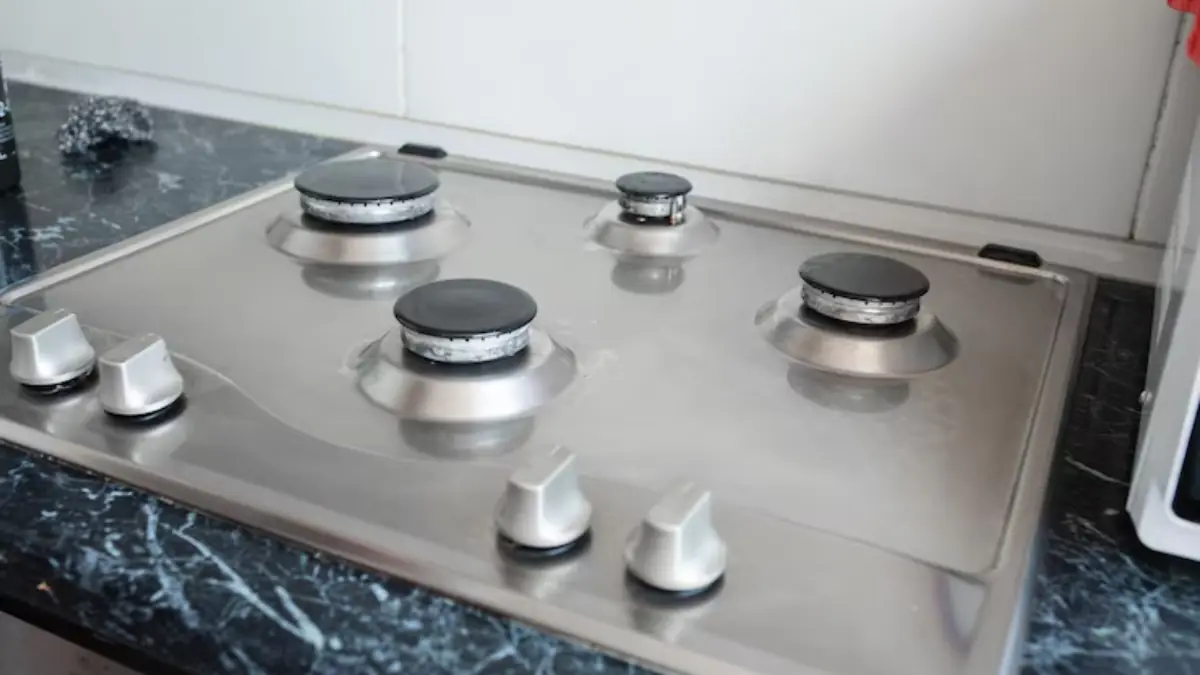
Step 7: Reassemble and Restore
Once everything has dried completely, carefully reinstall the burner components in their proper positions. Make sure caps align correctly with the burner heads and that grates sit level. Test each burner to confirm proper ignition and flame distribution. If a burner doesn't light immediately or the flame appears uneven, double-check that all ports are clear and components are correctly positioned. Your stove should now look refreshed and function optimally.
Upgrade Your Kitchen with Premium Appliances
Maintaining clean burners is easier with quality kitchen appliances designed for performance and durability. Explore professional-grade options that combine functionality with easy maintenance.
Thor Kitchen Appliance PackageAdditional Maintenance Tips
Regular Cleaning Schedule: Don't wait for buildup to become severe. Wipe down burners after each use and perform deep cleaning monthly to maintain optimal performance and appearance.
Immediate Spill Response: Address spills and boil-overs as soon as your stove cools down. Fresh messes are significantly easier to clean than dried, baked-on residue.
Port Maintenance: Keep burner ports clear of debris by checking them regularly. Use a toothpick or small wire to gently clear any clogs that might affect flame distribution.
Avoid Harsh Abrasives: Even when dealing with tough stains, never use steel wool or harsh scouring pads that can scratch surfaces and damage protective coatings on your burner components.
Achieve a Pristine Kitchen Naturally
Cleaning gas stove burners without chemicals is not only possible but highly effective. Using natural ingredients like baking soda and vinegar, you can achieve professional-level results while protecting your family and the environment. This method saves money, eliminates exposure to harsh fumes, and keeps your kitchen appliances functioning at their best. Make natural cleaning a regular habit, and you'll enjoy a spotless, safe cooking space for years to come.