
Professional Maintenance for Outdoor & Indoor Kitchen Equipment
Maintaining your gas range isn't just about appearances—it's essential for optimal performance, safety, and longevity. Whether you're operating an outdoor kitchen setup or managing heavy-duty cooking equipment, regular cleaning prevents grease buildup, ensures even heating, and extends the life of your investment. This comprehensive guide walks you through every step to keep your gas range performing at peak efficiency.
Essential Materials You'll Need
Cleaning Solutions
- Degreasing dish soap
- Baking soda paste
- White vinegar solution
- Commercial stove cleaner (optional)
Tools & Supplies
- Microfiber cleaning cloths
- Non-abrasive scrub brush
- Soft sponge or cleaning pad
- Toothbrush for detailed areas
 10-Step Cleaning Process
Shut Off the Gas Supply
Safety comes first in any maintenance procedure. Locate the gas shutoff valve behind or beneath your range and turn it to the closed position. This critical step prevents gas leaks and ensures a safe working environment throughout the cleaning process.
Safety Note: Allow the range to cool completely if recently used. Never clean a hot appliance to avoid burns and damage to cleaning materials.
Remove Grates and Burner Caps
Carefully lift off all cast iron or steel grates from the cooktop surface. Next, remove the burner caps by gently lifting them straight up. These components require separate cleaning attention due to accumulated grease and food residue. Set them aside in your sink or a large basin for soaking.
Clean the Burner Heads
The burner heads contain small ports that distribute gas evenly for optimal flame performance. Use a soft-bristled brush or old toothbrush to gently clean around these openings, removing any food particles or debris.
For stubborn buildup, create a paste using baking soda and water, apply it to the burner heads, and let it sit for 15-20 minutes before scrubbing. Ensure all ports are completely clear—blocked ports cause uneven flames and reduced heating efficiency.
Wipe Down the Surface
With the grates and burner caps removed, you now have full access to the cooktop surface. Spray the entire surface with a degreasing solution or apply soapy water using a damp cloth. Wipe away loose debris, crumbs, and surface grease. For stainless steel surfaces, wipe in the direction of the grain to prevent scratching and maintain the polished appearance.
Attack Stubborn Stains
Baked-on grease and burned food require extra attention. Apply a generous layer of baking soda paste directly onto stubborn stains and let it work for 20-30 minutes. The alkaline properties of baking soda help break down tough, carbonized residue. For particularly resistant areas, combine baking soda with a small amount of vinegar to create a fizzing action that lifts stuck-on grime more effectively.
Rinse and Dry Thoroughly
After scrubbing away all residue, use a clean, damp cloth to rinse the entire cooktop surface, removing all cleaning solution and loosened debris. Any remaining cleaning product can leave streaks or residue that attracts more dirt.
Follow up immediately with a dry microfiber cloth to prevent water spots and achieve a streak-free finish. Ensure all moisture is removed from burner areas before reassembly to prevent rust and corrosion.
Scrub the Grates and Burner Caps
While the cooktop surface dries, turn your attention to the grates and burner caps that have been soaking. Use hot, soapy water and a scrub brush or non-abrasive pad to remove accumulated grease and food residue.
For cast iron grates with heavy buildup, a stiff brush works best. Pay special attention to corners and crevices where grease accumulates. Rinse thoroughly under hot running water and dry completely with a clean towel to prevent rust formation on cast iron components.
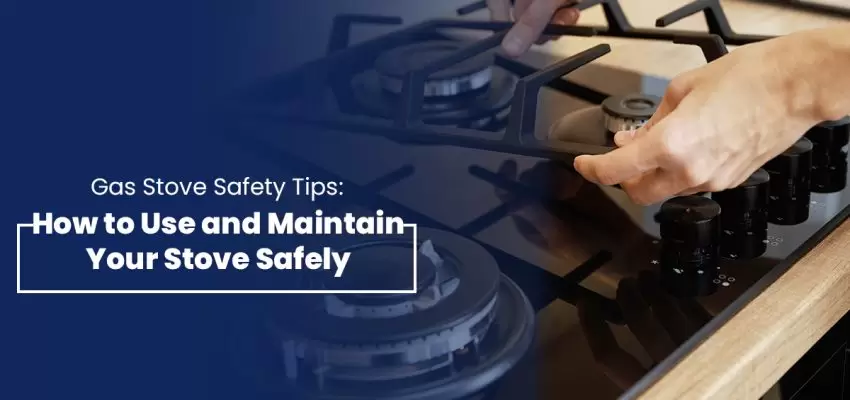
Clean Knobs and Controls
Control knobs are often overlooked but collect significant amounts of grease, food splatter, and grime. Many knobs pull straight off for easier cleaning—consult your owner's manual if unsure. Wash removable knobs in warm, soapy water using a soft cloth or sponge. For knobs that don't remove, carefully clean around them with a damp cloth and use a toothbrush for hard-to-reach areas. Dry thoroughly before reattaching to prevent moisture from entering the control mechanisms.
Reassemble the Range
Once all components are completely clean and dry, begin reassembly. First, replace the burner caps, ensuring they're properly aligned and seated flat on the burner heads—misaligned caps cause irregular flames and poor performance. Next, carefully position the grates back onto the cooktop, making sure they sit level and stable. Reattach any control knobs you removed. Double-check that everything is securely in place before proceeding to the final step.
Polish the Exterior
Complete the cleaning process by addressing the exterior surfaces. Use an appropriate cleaner for your range's finish—stainless steel cleaner for stainless surfaces, or mild soap and water for painted or enameled exteriors. Wipe down the front panel, sides, and any exposed surfaces. For stainless steel, apply cleaner in the direction of the grain and buff with a clean, dry microfiber cloth for a professional, fingerprint-free shine. Don't forget the area behind the range if accessible.
Ongoing Maintenance Tips
Daily Maintenance
Wipe down the cooktop surface after each use while still slightly warm. This prevents grease from hardening and makes cleanup significantly easier. A quick wipe takes just seconds but saves hours of scrubbing later.
Weekly Care
Perform a thorough cleaning of grates and burner caps once weekly, especially with heavy use. Regular attention prevents buildup that requires aggressive scrubbing and extends component lifespan.
Spill Response
Address spills and boil-overs immediately when safe to do so. Fresh spills wipe away easily, while dried residue requires intensive cleaning. Quick action preserves your range's appearance and prevents permanent staining.
Deep Cleaning Schedule
Complete the full 10-step cleaning process monthly, or more frequently for commercial or heavy residential use. Consistent deep cleaning maintains optimal performance and prevents costly repairs or premature replacement.
Why Regular Cleaning Matters
Enhanced Safety
Accumulated grease and food debris present serious fire hazards, particularly with high-BTU burners common in professional-grade ranges. Regular cleaning eliminates these combustible materials, significantly reducing fire risk. Clean burner ports also ensure proper gas flow and combustion, preventing dangerous carbon monoxide buildup and gas leaks that occur when burners operate inefficiently.
Optimal Performance
Clean burners heat evenly and efficiently, providing consistent cooking temperatures across the entire cooking surface. Blocked or partially obstructed burner ports create irregular flame patterns, resulting in hot spots and cold zones that compromise cooking results. Proper maintenance ensures your range delivers the precise heat control essential for professional-quality cooking, whether you're searing steaks at high temperature or simmering delicate sauces.
Extended Lifespan
Professional-grade gas ranges represent substantial investments—often several thousand dollars for quality units. Corrosive food acids, grease buildup, and accumulated grime accelerate wear on metal components, finishes, and ignition systems. Regular maintenance prevents premature deterioration, protecting your investment and ensuring decades of reliable service. Well-maintained ranges retain resale value significantly better than neglected units.
Health and Hygiene
Old food residue harbors harmful bacteria and creates unsanitary cooking conditions that can contaminate fresh food. Grease buildup also produces unpleasant odors and smoke during cooking, affecting food flavor and air quality in your cooking space.
Regular cleaning maintains a hygienic food preparation environment essential for both home kitchens and commercial operations. This becomes especially critical in outdoor kitchen settings where insects and weather exposure create additional contamination risks.
Energy Efficiency
Dirty burners waste gas by burning inefficiently. Blocked ports reduce flame intensity, forcing longer cooking times and higher gas consumption. Clean, well-maintained burners operate at peak efficiency, reducing fuel costs over time—a significant consideration for high-volume cooking operations or propane-fueled outdoor kitchens where fuel costs add up quickly.
Invest in Professional-Grade Equipment
When you're ready to upgrade to professional-quality cooking equipment designed for both durability and easy maintenance, consider a complete kitchen solution that delivers restaurant-grade performance for your outdoor or indoor space.
Thor Kitchen Complete Appliance Package
This comprehensive package includes everything you need for a fully functional professional kitchen: 36-inch propane gas range with powerful burners, ventilation hood for proper air circulation, full-size refrigerator, efficient dishwasher, and wine cooler for entertaining. Each component features stainless steel construction for durability and easy cleaning, making maintenance straightforward following the methods outlined in this guide.
The propane gas range delivers precise temperature control with sealed burners that contain spills for easier cleanup. Commercial-grade grates handle heavy cookware, while the porcelain cooktop surface resists staining and wipes clean effortlessly. This integrated system transforms any space into a professional-caliber cooking environment.
Keep Your Equipment in Peak Condition
Maintaining your gas range doesn't require specialized tools or professional service—just consistent attention and the right approach. By following this 10-step cleaning process and implementing regular maintenance habits, you protect your investment, ensure safe operation, and maintain the cooking performance that professional and serious home chefs demand.
Whether you're operating an outdoor kitchen setup, managing a commercial cooking space, or simply want restaurant-quality results at home, proper range maintenance is non-negotiable. The few minutes spent on daily upkeep and monthly deep cleaning pay dividends in equipment longevity, cooking performance, and peace of mind. Your range is the heart of your cooking operation—treat it with the care it deserves, and it will serve you reliably for years to come.