

Spring cleaning fever hits everyone eventually. Whether it's the garage, workshop, or shed, the urge to declutter and organize becomes irresistible. For those of us who spend time working on outdoor projects, construction tasks, or backyard improvements, a disorganized workspace can quickly become frustrating.
One of the most effective solutions for workshop organization is the classic pegboard system. Pegboards offer incredible versatility and provide excellent vertical storage capabilities, keeping your tools visible, accessible, and off your valuable workbench space. They accommodate tools of virtually any shape and size.
This guide will walk you through the optimal method for mounting a pegboard to maximize both durability and functionality. Ready to transform your workspace? Let's dive in.

Materials You'll Need
Gather Your Supplies and Select the Perfect Location
The materials required for this project are straightforward and budget-friendly. Standard pegboard panels are readily available at most hardware stores, and you can even find steel versions online if you prefer a more industrial look. Pegboard hooks come in countless configurations—from simple straight hooks to specialized holders for power tools and equipment.
When choosing your installation spot, prioritize accessibility. Select a wall that allows you to reach your tools without obstacles—ideally near your primary work area. The wall should be sturdy enough to support the combined weight of the pegboard and your heaviest tools.

Locate Wall Studs and Position Your Spacers
This step is critical for a secure installation. Using a stud finder simplifies the process considerably, though tapping the wall and listening for solid spots works in a pinch. Mounting directly into studs is essential because it prevents the pegboard from pulling away from the wall under the weight of your tools.
Wood spacers serve a vital purpose—they create the gap needed behind the pegboard for hooks to insert properly. Attach your wood strips horizontally to the studs first, then mount the pegboard to these strips. This method distributes weight evenly and provides rock-solid stability. Larger spacers allow for bulkier hook styles, while smaller ones work fine for standard accessories.
Mount Your Pegboard Panel
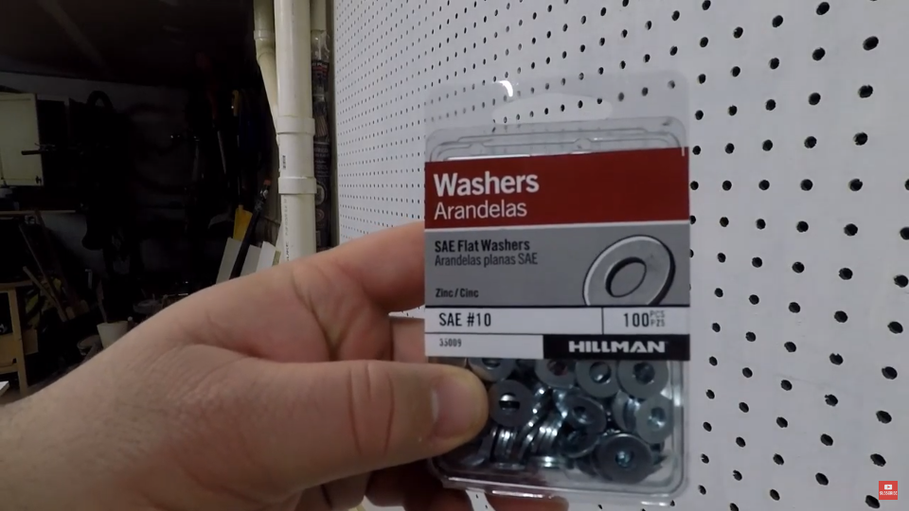
With spacers secured, position your pegboard panel against them. Drive screws through the pegboard and into the wood strips beneath. Here's an important tip: use washers between the screw heads and the pegboard surface. Standard screws can slip through the pegboard holes or crack the material under pressure—washers distribute the load and prevent this damage.
Space your fasteners appropriately around the perimeter and add several in the center for larger panels. This ensures the pegboard remains flush and doesn't bow when loaded with heavy equipment.

Install Your Pegboard Hooks and Accessories
Now comes the satisfying part—organizing your tools. Insert your hooks from the front, angling them slightly upward before pushing them flush into the holes. The variety of hook styles available today is impressive: straight hooks for hammers and wrenches, curved holders for drills and circular saws, basket attachments for small parts, and magnetic strips for drill bits and screwdriver tips.
Arrange your most frequently used tools at eye level and within easy reach. Group similar items together—all measuring tools in one section, cutting tools in another. This logical arrangement speeds up your workflow and makes it obvious when something hasn't been returned to its proper place.

Pro Tips for Maximum Efficiency
Outline Your Tools: Trace around each tool with a marker or paint pen. This creates designated spots and makes it immediately clear when something is missing.
Lock Your Hooks: Apply a small dab of hot glue behind hooks that tend to lift out when removing tools. They'll stay put yet remain removable if you need to rearrange later.
Think Vertically: Install your pegboard higher than you think necessary. Vertical space is often underutilized, and keeping tools off lower areas protects them from moisture and debris.
Ready to Upgrade Your Workshop?
Pair your new pegboard setup with a professional-grade rolling workbench featuring built-in pegboard storage.
Trinity Pro Rolling WorkbenchFinal Thoughts
A well-organized workspace does more than look impressive—it makes every project more enjoyable and efficient. The pegboard system remains one of the most cost-effective and adaptable storage solutions available, and with proper installation, it will serve you reliably for years.
Take your time planning your layout before committing to hook placements. Your workflow will naturally suggest the ideal arrangement. Once everything has its designated spot, you'll wonder how you ever managed without it.