
Table of Contents
- Introduction to VVDI Key Tool Max Display Issues
- Common Signs Your Screen Needs Replacement
- Tools and Materials Required
- Step-by-Step Replacement Process
- Testing and Calibration
- Maintenance Tips for Longevity
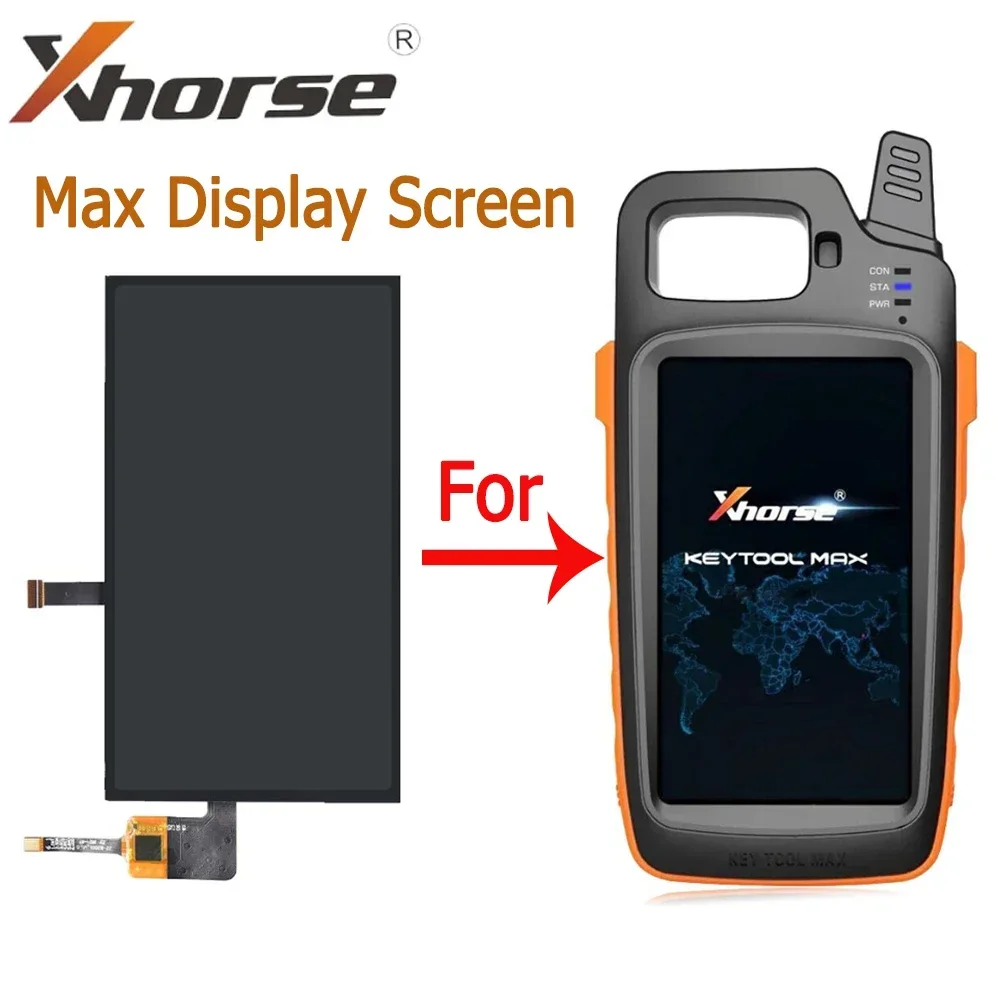
Understanding Your VVDI Key Tool Max Display
The Xhorse VVDI Key Tool Max and Max Pro have become essential instruments for automotive professionals worldwide. These sophisticated devices feature high-resolution touchscreen displays that serve as the primary interface for all programming operations. However, like any electronic component subjected to daily professional use, the LCD screen can experience wear, damage, or failure over time.
The display panel is more than just a visual output device—it's the command center through which technicians navigate menus, input data, and monitor programming sequences. When this critical component fails or becomes compromised, it can bring your entire operation to a standstill. Understanding the replacement process empowers you to restore functionality quickly and cost-effectively.
Recognizing When Replacement Is Necessary
Several indicators suggest your VVDI Key Tool Max screen may require replacement. Being able to identify these symptoms early can prevent further damage and minimize downtime in your workflow.
Physical Damage
Visible cracks, chips, or shattered glass on the display surface indicate immediate need for replacement to prevent further internal damage.
Display Anomalies
Dead pixels, color distortion, flickering, or areas that remain unresponsive suggest LCD panel deterioration requiring attention.
Touch Malfunction
Unresponsive touch zones, ghost touches, or calibration issues that persist after software reset indicate digitizer problems.
Backlight Failure
Complete screen blackout while the device remains operational, or uneven illumination across the display surface.
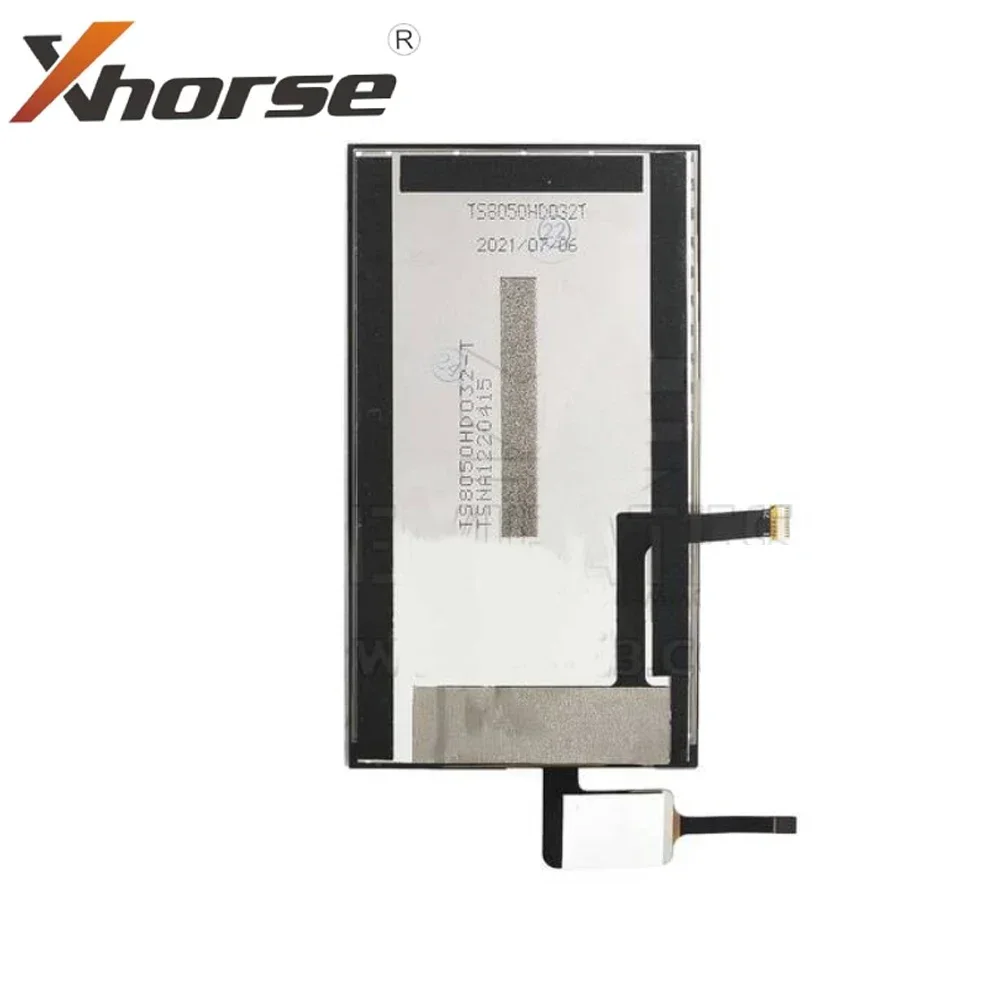
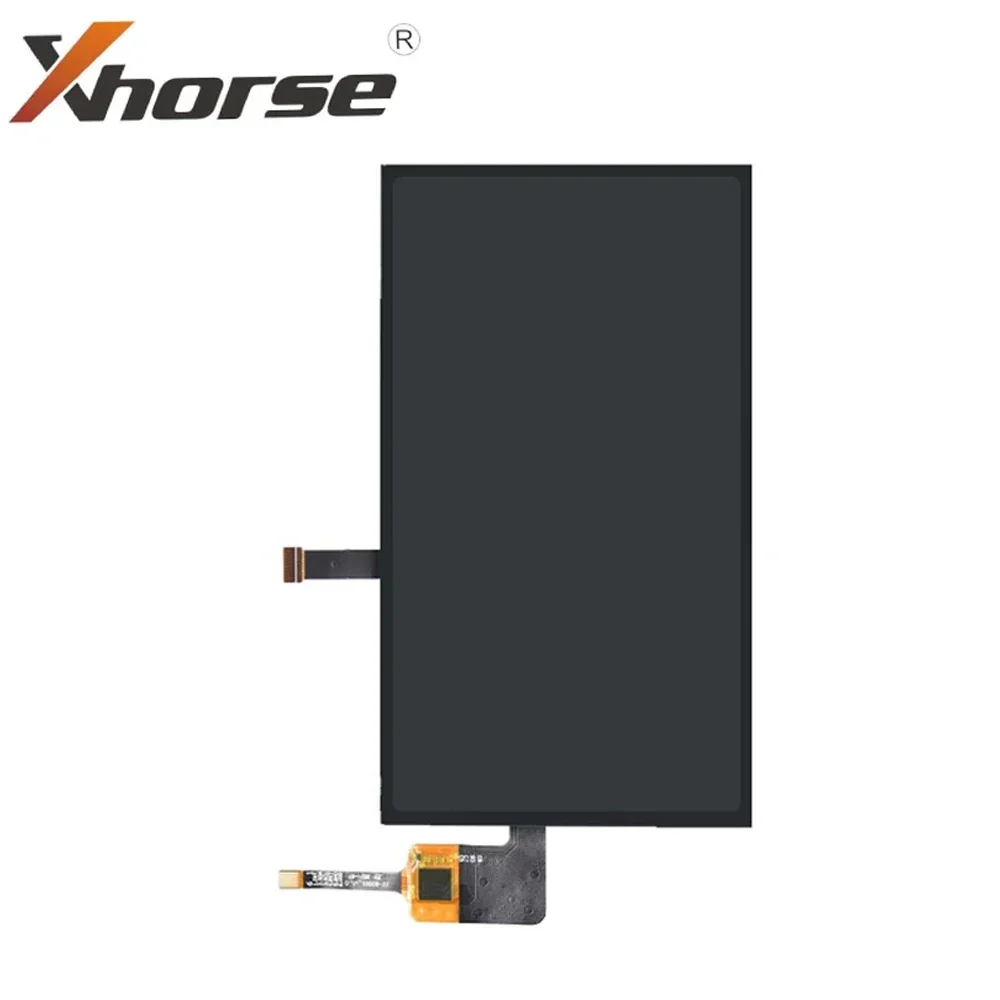
The Replacement Solution
Premium OEM-compatible LCD screen for your VVDI Key Tool
Essential Tools and Materials
Before beginning the replacement procedure, gather all necessary tools and materials. Proper preparation ensures a smooth process and reduces the risk of accidental damage during disassembly.
Step-by-Step Replacement Process
Follow these detailed instructions carefully to ensure a successful screen replacement. Take your time with each step, as rushing can lead to damage of delicate internal components.
Power Down and Prepare
Completely power off your VVDI Key Tool Max and disconnect any cables or accessories. Allow the device to cool if it has been in use. Set up your workspace on a clean, static-free surface with adequate lighting.
Remove the Back Cover
Locate and remove all screws from the back panel using the appropriate screwdriver. Keep screws organized by their location, as different lengths may be used. Carefully separate the back cover using plastic pry tools to avoid scratching the housing.
Disconnect Internal Cables
Identify the flex cables connecting the display to the main board. These ribbon connectors have delicate locking mechanisms that must be released before removal. Use a plastic spudger to gently flip up the connector locks and slide out the cables.
Remove the Damaged Screen
Apply gentle heat around the screen edges to soften any adhesive holding the display in place. Work slowly around the perimeter with a thin pry tool, gradually separating the screen from the frame. Take care not to bend or apply excessive pressure to the surrounding components.
Clean and Prepare the Surface
Remove any remaining adhesive residue from the frame using isopropyl alcohol and a lint-free cloth. Inspect the frame for any damage that could affect the new screen installation. Ensure the surface is completely clean and dry before proceeding.
Install the New Display
Carefully position the new LCD screen, aligning it properly within the frame. Connect the flex cables to the main board, ensuring they are fully seated and the connector locks are secured. Press the screen gently into place, verifying even contact around all edges.
Reassemble and Test
Replace the back cover and reinstall all screws in their correct positions. Power on the device and perform a comprehensive function test. Verify touch responsiveness across all screen areas and check for proper display output.
Post-Installation Testing
After completing the replacement, thorough testing ensures your device is fully operational. Run through these verification checks before returning the unit to regular service.
Visual Inspection: Examine the entire display for any dead pixels, uneven lighting, or color inconsistencies. The screen should illuminate uniformly without any dark spots or bright areas.
Touch Calibration: Navigate through all menu options and test touch sensitivity in every corner and edge of the screen. The device may require touch calibration through its settings menu.
Functional Testing: Execute a sample key programming sequence to verify the screen responds correctly during actual operations. Test all on-screen buttons and interface elements.
Stress Test: Run the device through an extended session to ensure stable performance under continuous use. Monitor for any overheating or intermittent display issues.
Maintenance Tips for Extended Screen Life
Protect your investment and maximize the lifespan of your new display with these maintenance best practices.
Screen Protection
Apply a quality screen protector immediately after installation. Store the device in a protective case when not in use to prevent accidental impacts and scratches.
Regular Cleaning
Clean the screen regularly with a soft microfiber cloth. Avoid harsh chemicals or abrasive materials that could damage the display coating or compromise touch sensitivity.
Temperature Control
Avoid exposing the device to extreme temperatures or direct sunlight for prolonged periods. Heat can degrade LCD components and cause premature failure.
Ready to Restore Your Device?
Get your VVDI Key Tool Max back to full operation with a premium replacement LCD screen. Precision-engineered for perfect compatibility and long-lasting performance.
Xhorse LCD Screen ReplacementThis guide is provided for informational purposes. Always follow manufacturer guidelines and safety procedures when performing electronic repairs.